CLINK HERE FOR A COMPLETE INDEX TO ITEMS ON THIS BLOG

Showing posts with label TERRAIN. Show all posts

Tuesday, 15 November 2022

CANCON 2023- LARD DOWN UNDER - The Battle for Wau - Jungle Table

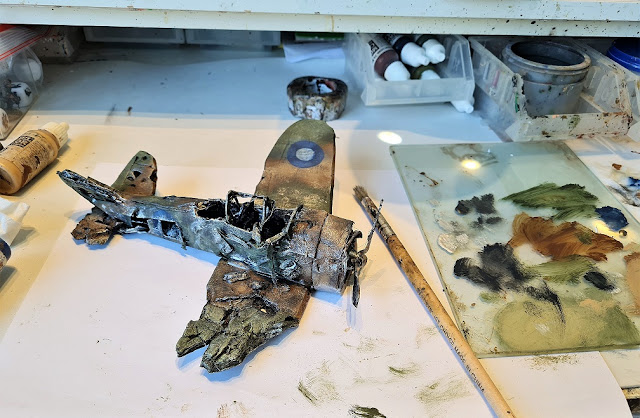
The second gaming table ready for Cancon 2023, for Len Tracey to host the Australians battling it out with the Japanese in the Battle for Wau. Once again all the terrain was scratched built by me, way back in 2018 for "Chain of Command a Pacific Odyssey" at Cancon 2019.  The only new item I have included is the burnt out Wirraway plane on the runway.
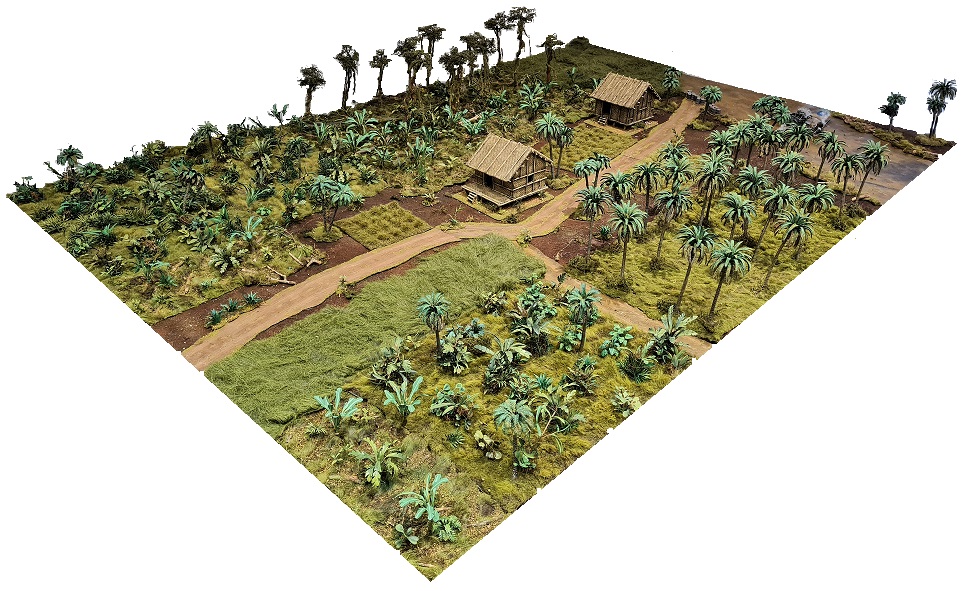


There is a mix of different terrain features on the table from, Primary and secondary jungle, Kunai grass, palm plantation  and home gardens.

I was going to purchase a 1:35 scale Wirraway plastic kit but the price put me off. As this was going to be a wreaked plane I opted  to make one from foam core cardboard and stuck the pieces together with a glue gun. 
Painted with Vallejo paints.
The Wirraway  on the runway, added a bit of white fluff to simulate it still smoldering.


Hope to post images of the battle once underway at Cancon 2023.
Cheers John

Thursday, 10 November 2022

CANCON 2023 - LARD DOWN UNDER -The Battle of TAIERZHUANG gaming table.

The first gaming table ready for Cancon 2023 for Len Tracey, to host the Chinese vs Japanese battle of Taierzhuang on March 1938. All the terrain pieces including the gaming mat are scratched built by me and the scale is built for 28mm miniatures. 

Currently, I am putting together another table for Len's second game at Cancon, which is based in the Pacific with Australians battling out with Japanese.  

I started the build, using a rough sketch of the gaming table by Len,
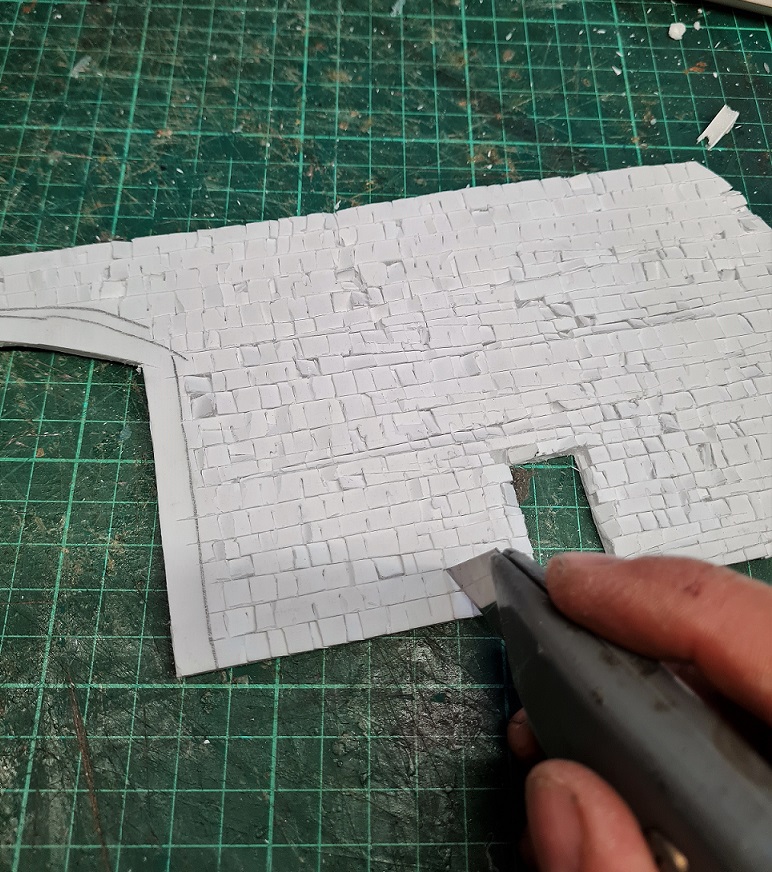
I used foam board with a thin plastic outer skin and inner foam core.
Detail was scribed in with box cutter. 
I used a glue gun to secure the pieces together.
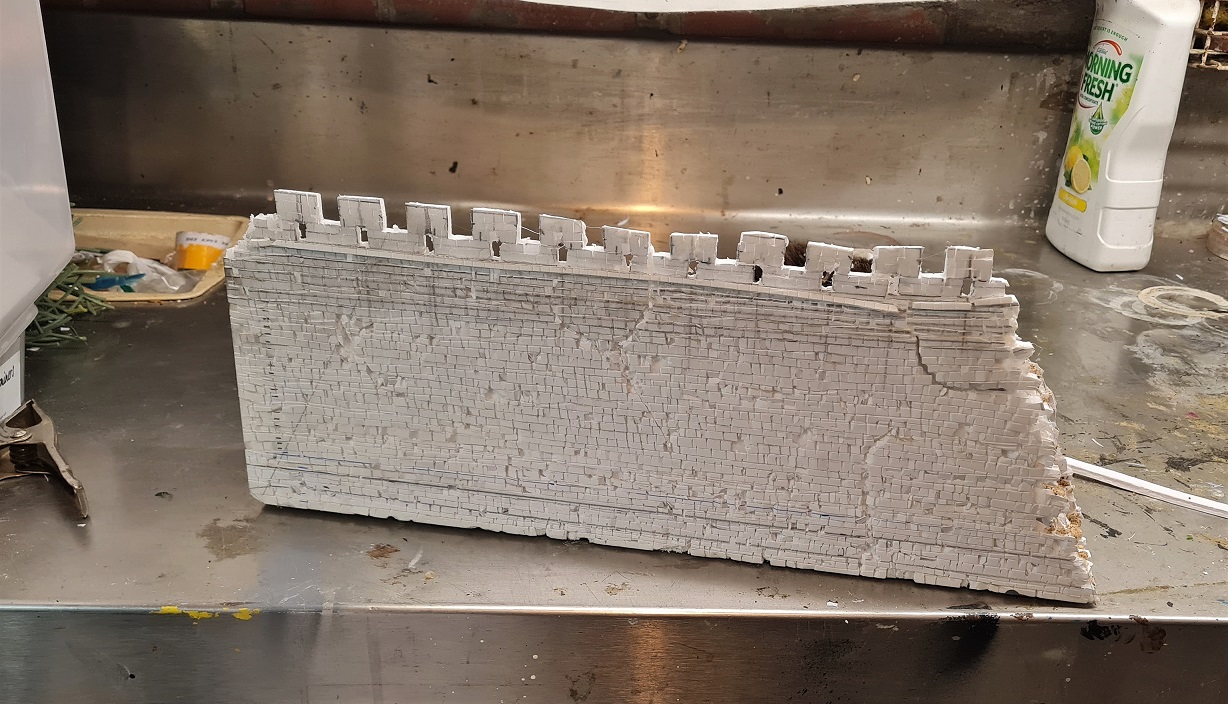
One side completed, view of the outer wall.
View of the inner wall with a 28mm figure for scale comparison.
The middle portion ready for the next stage.
Spaced on the table to calculate the amount of collapsed wall is need to be built between the intact walls.
Primed with black primer.
I used Students paints to paint the walls, here is a image of one portion of the collapsed wall undergoing construction.
To make the ruin building within the wall, I turned to foam board once more but the one with a paper outer layer with foam in the middle. I chose these materials as I had limited time and ease and speed of cutter and assembling them.
PVA glue is used to secure debris over the ruin buildings.
Once again used Students paints on a production line to paint the buildings.
View of the main gate and entry point to the city. 
Chinese troops have set up a road block behind the main gate.
Portion of the collapsed wall.
The mat underneath the ruins is just a old bed sheet that has been sprayed black and grey.
Close up image of the narrow streets.
View of the main gate from the Japanese troops perspective.
Hope to post images of the battles late in January 2023.
Cheers John 

Sunday, 13 March 2022

SCRATCH BUILT LOG CABINS 28mm

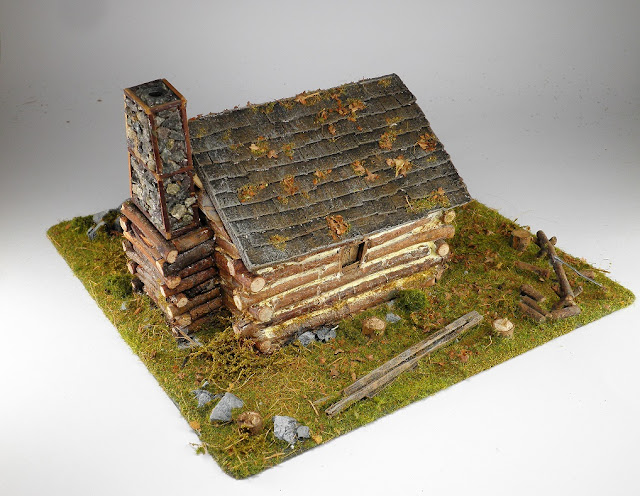
Tried my hand at scratch building 4 x log cabins, log by log, the same way the early Frontier settlers  built them, here are the steps I undertook to construct them.

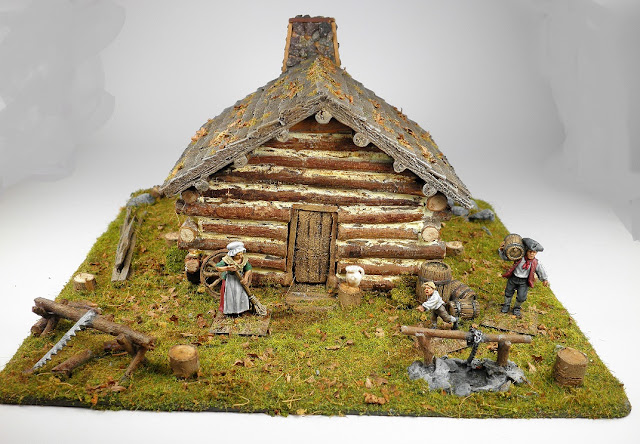
Log Cabin number 1 with a shade area for the mules and a vegetable garden plot.

Log cabin number 2 also with an outdoor cooking area.

Log cabin number 3 with a pig pen and clothes line.

Log cabin number 4

First step is a trip around the neighborhood parks looking for fallen branches with a suitable thickness to create the logs.

I used 3mm MDF as a base plate for the log cabin.

I sorted through the branches I collected, looking for and cutting off the straight pieces on the branches with a metal saw ( which has a finer blade). These pieces should be of similar thickness. A Hot glue gun is used to secure each wood piece onto the base and over each wood piece as you build up the walls of the cabin. 

Course sand paper comes in handy to adjust any wood pieces that may have a bit of a bend in them.


Walls almost completed.
Optional step but not necessary: If you wish you can slightly hollowed out the overlapping log pieces on the corners of the cabins with a bur on a hand motor or a rounded file to lock them in place.
Once all the walls are in position the roof support is built up.

To strengthen the roof supporting logs, I drilled a hole into the middle of the logs from the top  into the logs right down to the logs that forms the wall of the cabin. I then placed a piece of metal into the hole and secured it in place with superglue. 

The metal rod is flush with the top log.

I marked out the slope of the roof on each side.

Used a metal saw to cut off the excess pieces.

Used the metal saw to even out the corner log pieces of the cabin. 

Cabin is ready for the chimney.

To construct the chimney, I glue 2 pieces of  3mm MDF together and saw off the edges to create a taper. 

Secure the MDF in place with Hot Glue gun and  used left stripes of MDF from my odds bin to create a wood frame over the chimney, secured in place with super glue. 

I used small pieces of gravel sourced  from a park trail to line the exterior of the chimney. 

Next step is the roof, I cut out 2 pieces of MDF .

I place a beam of PVA glue along one edge of the MDF and secure the other piece of MDF with the first and secure it in place with painters tape and leave over night to dry.  

Once the PVA glue is dry I removed the roof and cut out  triangular  pieces of  MDF to glue on the under side of the roof. These will  support the roof structure, be carful to place these so that they do not interfere with the bottom portion of the cabin when you reposition the roof over the cabin walls.

To create the roof covering, I used left over pieces of cardboard from my cobblestone road. Apply a layer of PVA glue with a small brush and place the small squares along the width of the roof.

Continue overlaying the cardboard pieces overlapping them as you progress to the top of the roof. 

Completed tiles on the roof.

I used the edge of the hobby knife to add a bit of texture to some of the tiles.

Added a couple of wood pieces on the underside of the front portion of the roof and trimmed off  the excess with a saw.

Use a wood file to even out the windows and doorway.

Raided the odds and bits bin for some stripes of MDF used to make a frame for the doorway.

Used Balsa wood to create a door and shutters for the window.

Textured the Balsa with the edge of  the hobby knife.
Two of the Four cabins ready for basing.

Secured the cabins on a 3mm MDF base with PVA glue.

Started to add terrain pieces the base, such as small garden plot, tree stumps, fire place, saw, barrels, rocks, shade for farm animals etc.  


Once all the bits have been added, I applied thin layer of caulking to create a bit of texture to the base.

Once dry, paint the base then paint the other scatter terrain added.

Finally, add the flock.

I went a step further with this building by adding the texture in between the logs used to insult and plug up any tiny gaps between the logs.


The saw was made from cardboard and thin layer of glue applied to the surface to make it ridged.


After viewing a number of images of early frontier cabins, I notice that quite a few tree stumps were present around the cleared area near the cabins so I added a few to my cabin bases.

All the roofs can be removed to place figures within the cabin.

Farmer contemplating the days work  ahead of him.


The cabins  could also pass off as Russian farm houses for WW2 tables (if your not a rivet counter) 😉


Cheers John