CLINK HERE FOR A COMPLETE INDEX TO ITEMS ON THIS BLOG

Showing posts with label SCATTER TERRAIN. Show all posts

Friday, 31 December 2021

SCRATCH BUILT TRAIN TRACKS

Happy new year all.

Having completed Two Train Stations, scatter terrain for a train station and  a Train Engine with coal storage carriage, it was obvious the next project was going to be  "Train Tracks".

I decide to make good use of the Plastic Infantry Sprues I had acuminated in my garage over the years to make my Scratch built train tracks. 

If you are keen to make your own I have included  step by step guide.

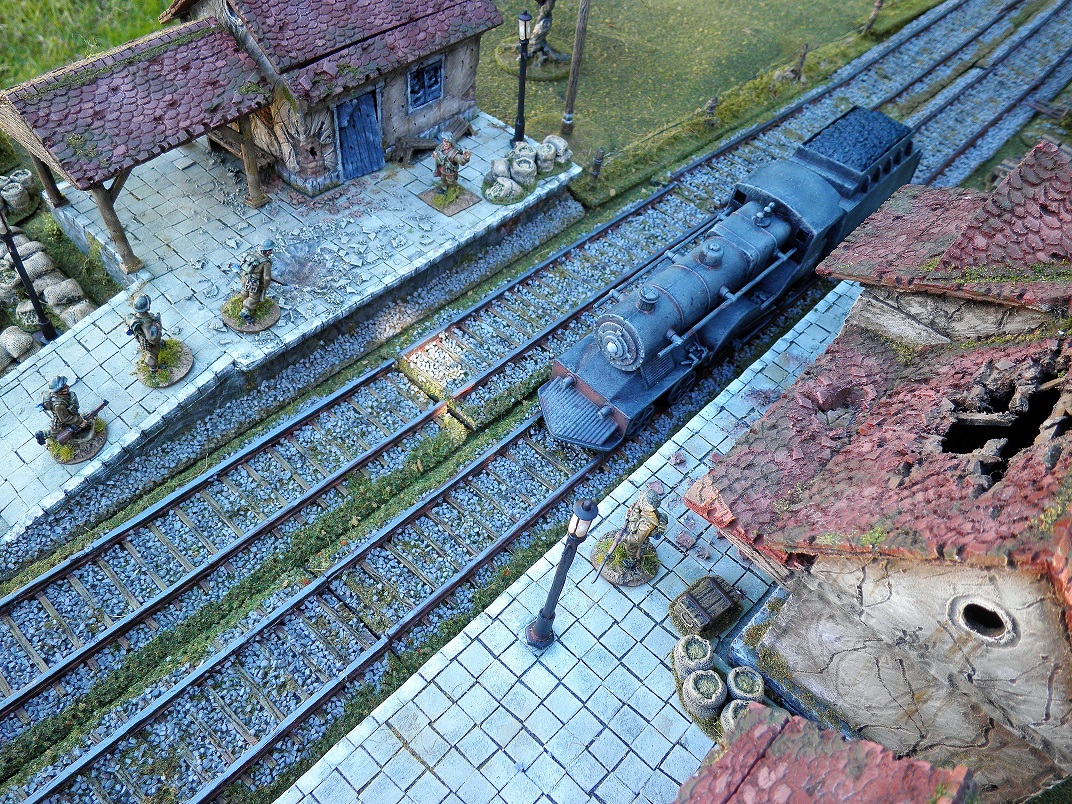
Train station somewhere in France secured by BEF troops for a tactical retreat.

Aerial view of the station.

All my completed tracks more that enough for a 6 x 4 foot gaming table.
To start the project prepare 3mm MDF cut into strips of 18.5cm x 5.5cm.

Measure 5mm in form the edge of the MDF and pencil in a line running both lengths of the MDF strip.
Use a file to chamfer the MDR from the pencil line to the edge, this will help blend the MDF into the gaming table.
Prep match sticks into 4cm lengths
Apply PVA glue at approximately 7mm apart.
Push the matches into the PVA glue.
Set aside to cure.
Grab your plastic sprues
Use model clippers to cut thru the plastic sprues. 
Select the longer pieces to remove.
Remove any extruding piece of plastic with the hobby clippers and hobby knife.
Plastic sprue without lugs.
Create a channel in the middle of the plastic sprue with either a disk or circular stone using a hobby hand motor.
Channel formed on both sides of the plastic sprues.
Place drops of super glue on top of the edges of the matches where the plastic sprues will be positioned and leave a slight overhang over the MDF on both edges.
(Note that the width of your train tracks will depend on the width on the trains wheels you intend to use for the tracks, mine are 3cm wide)
Allow the super glue to cure, note the over hang on both edges.
Flip the track over and trim off the excess plastic sprue inline with the MDF edge with sharp box cutters.
Once you have completed the first track, mark it as the master track, you will use the master track as a guide to line up the rest of the plastic sprue rail, as can be seen in the image above. The black based track has become the master track , the track on the right is the track in progress of lining up the tracks.
Optional step of scribing the matches with the point of a hobby knife or box cutters to create grain on the matches.
I referred to this image as a painting guide.
First painting step was to  prime them with black, with a good primer such as Rustoleum.
Painting stage starts using a brush.
Carefully wet brush the matches with Vallejo Model Colour Beige Brown leaving portions of the black primer showing thru.
Using the same painting technique highlighting with VMC Middlestone but leave some of the Beige Brown on the surface of the matches.
Paint the plastic sprues VMC Flat Brown.
Paint random areas along the sprue with  Vallejo Game Colour Carne Marron 
Further highlight with VMC Cavalry Brown to create rust areas 
Apply VMC Gunmental Grey on the top of tracks only .
Apply a generous thick layer of PVA glue with a brush on the MDF both on the edges and in-between the matches.
For the Ballast I used Woodland Scenic WS B89 Coarse Gray Ballast.
Apply a generous amount of Ballast and allow to set.
Once set, use your finger to remove any unwanted ballast from the matches, plastic rail, edges along the length of the track and especially on the edges that will bud up with other track pieces.
Apply random batches of PVA glue between the tracks and along the edges of the track.
Apply some areas with Woodland scenic Earth blend.
Apply Green flock to the outer edges.
Note: I have also made 6  tracks without any flock, these would be placed next to the Train Station.
I applied a black wash by thinning down black paint to create   thin random dark mark in the middle of the track.
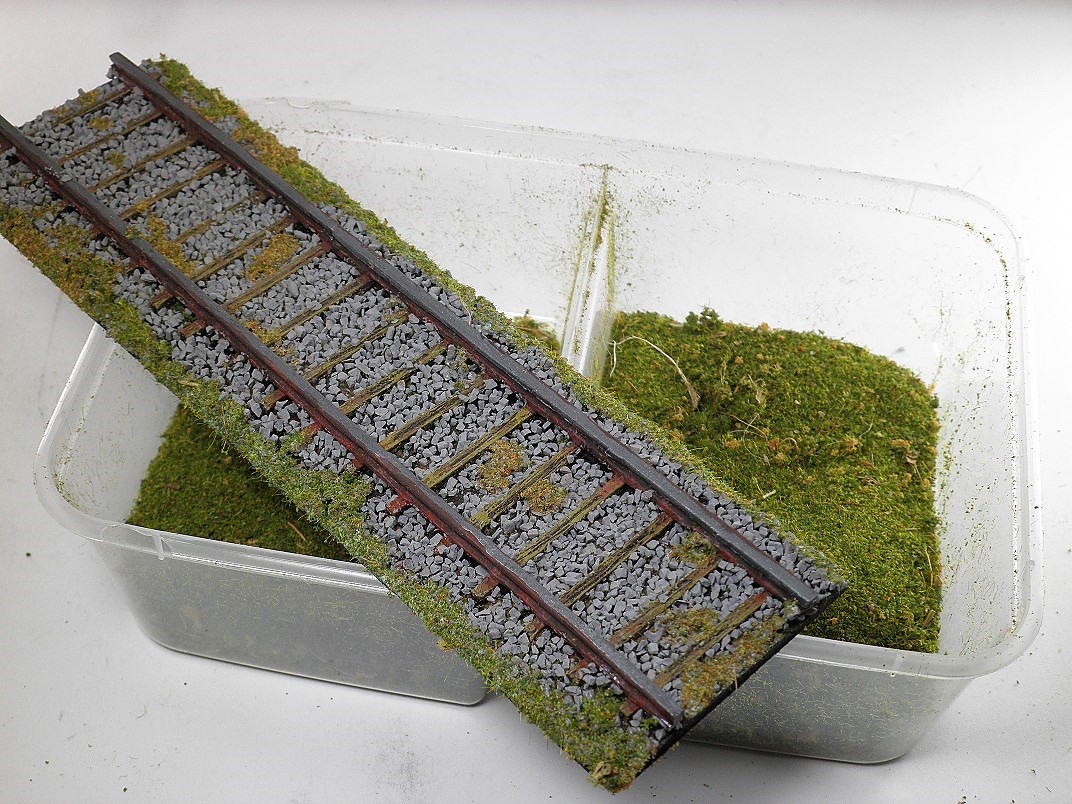
Completed straight tracks.
I also created a number these redirecting tracks.
Sabotage track, great for Resistance scenario.
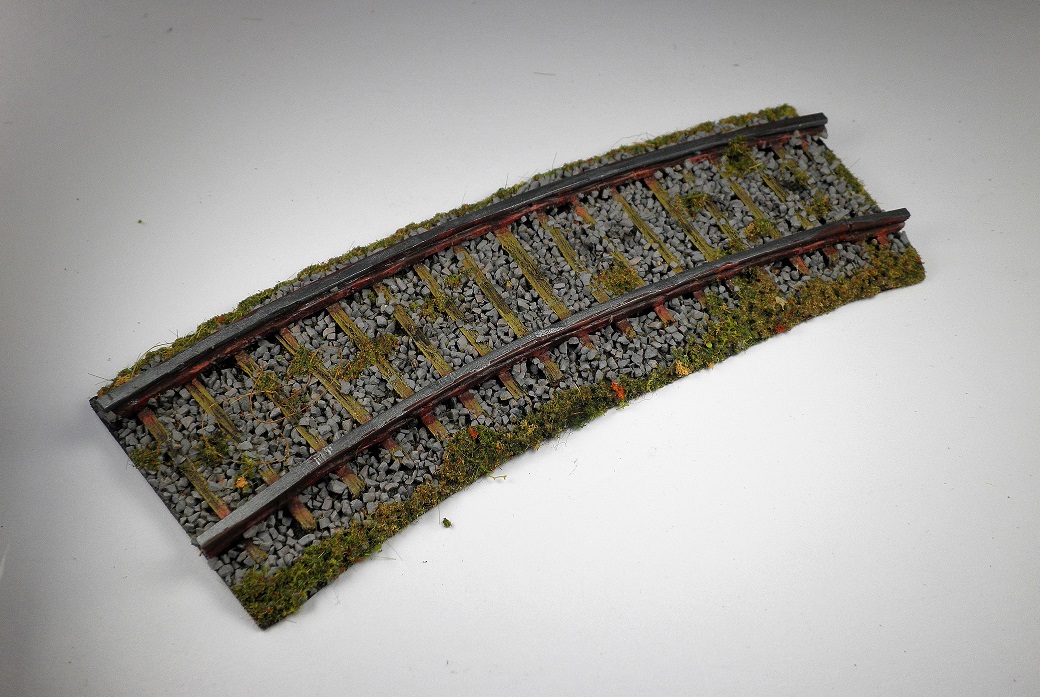
Curved track.
You can also cut up the tracks using a metal saw to suit a scenario and the gaming table.

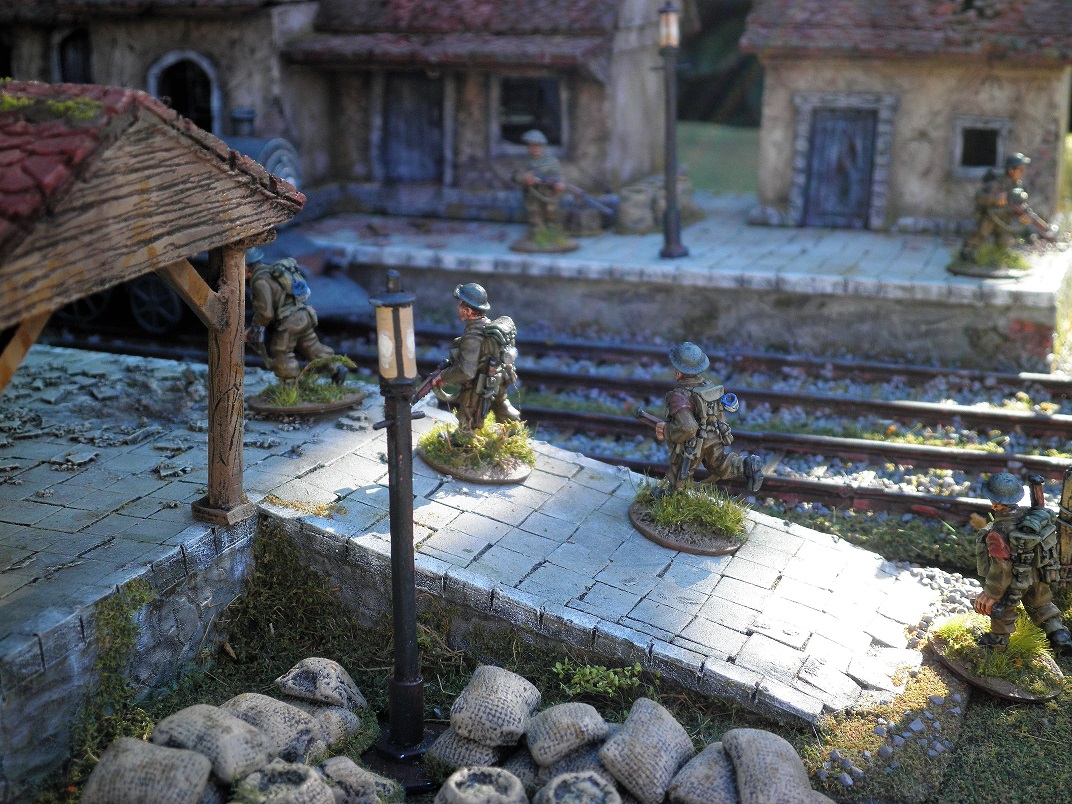
Some of the scatter terrain near the station
More images of the scatter terrain for the station.
Some useful links to click on this blog :
Cheers John

Wednesday, 2 December 2020

SCATTER TERRAIN: LAMP POSTS, ROAD SIGNS, WATER WELL, BIKES, CANAL BOATS and WHARF

On this post I have instructions on how to make Lamp posts, Road signs, a Water well, bikes, Canal boats and Wharf.

LAMP POSTS
The completed Lamp posts, I flocked some of the bases while leaving the majority bare for streets.
Material that are needed are plastic tubing, washers, metal nuts, matches (larger ones), cheap wire and rivets.
Super glue the nut to the washer.

Cut the rivet with a pair of wire cutters leaving a short tail.

Super glue the rivet as shown into the plastic tube.
View of the inner portion of the plastic tube showing how much space the rivet takes up in the plastic tube 
Place super glue into the tubing and insert the match. 

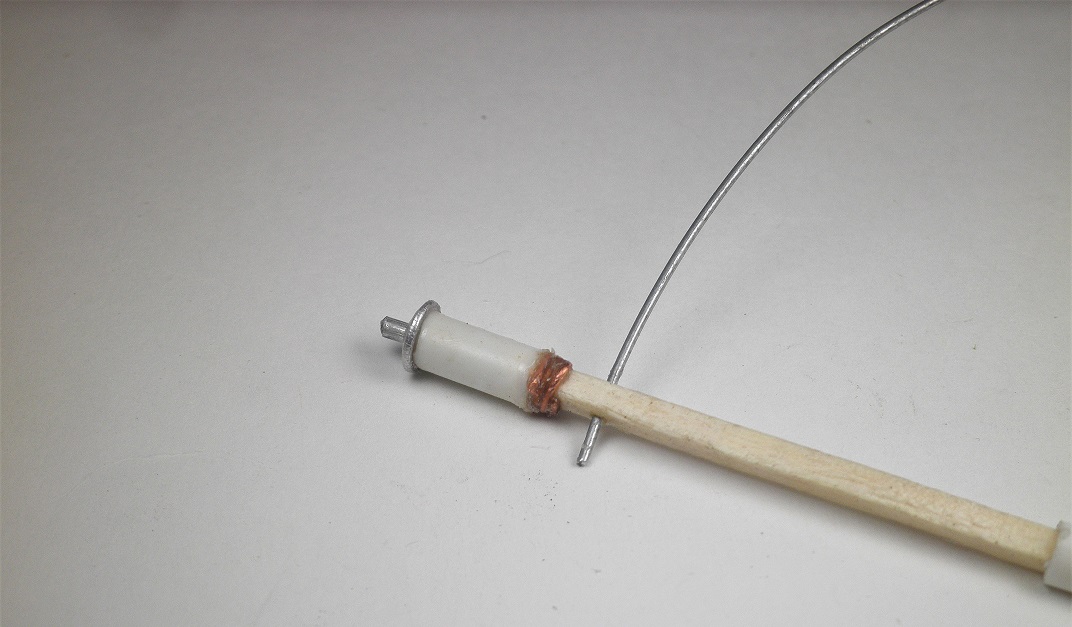
Rap some very flexible thin wire at the base of the plastic tubing and seal in place with superglue.( I used some copper wire) 

Drill a hole into the match stick.

Place super glue into the hole and insert wire.

Nip off the end to match the length of wire on the other side.

At the other end of the match place a drop of superglue.
Insert the tubing but leave a portion of the match exposed, this will be glued into the nut/washer.

The last step is to apply a thin layer of super on the surface of the match and allow to dry.

I also lightly scrap the edge of the match to make it look a bit more rounded. (I recommend doing this step prior to applying the layer of superglue on the surface on match and prior to undercoating.)

Prime with black surface primer and apply a couple of layers on the plastic tubbing using Vallejo Model colour Flat Flesh.

  • Next paint black strips over the flesh colour and creating a rounded edge on the bottom portion of the flesh colour that borders the pole portion of the lamp.
  • Apply thin layers of Vallejo Model colour Ivory as shown on the middle lamp.
  • Last, paint the middle portion of the light with the Ivory but don't it with perfect edges.

Completed lamp with 28mm figure for scale.
I also made a number of lamp post that did not have a base but had a tiny magnet glued with in the nut.

Lamps with the magnets inserted. 

Image showing the magnets in place.

On some of my buildings I wanted lamp posts 

Lamp posts removed and you can see the anchoring point on the footpath.

A thin sheet of metal was glued onto the pathway and painted to match the surroundings.

I also did the same with a stretch of these canal banks I made for CANCON this year.

Once I had completed the banks of the canal I embedded another magnet into the ground and covered it with a very thin layer of green stuff and applied flock.(Important to place the correct polarity of the magnet other wise it will not adhere together)

ROAD SIGNS  
Completed signs with a variation of shapes and post heights.

As I make my own bases from metal sheets for my figures I tend to have a lot of  Plastic bases lying around.

First step chamfer the edges of the bases with box cutters.

Drill a hole in the middle of the plastic base to match (these matches are the longer thicker ones used for BBQ) the diameter of the match that will be used as the post.
Use the point of a hobby knife to scribe into the match to create texture.
Cut matches to desired length.

A couple of the bases have 2 holes to accommodate 2 posts for a bit of variety.

Glue in place with superglue.

Cardboard is used to create the actual sign.

Before gluing them onto the post use a hobby knife to mimic wood grain and panels.

Last step is to add some rocks on the base and apply a thin layer of superglue over the signs and the post, once dry this step will stiffen and strengthen the sign posts. The last steps where the painting of the signs and flocking the base.

BEF moving up to the front line.

BIKES 
I used thin wire, bend into shape of a bicycle and soldered them to together, the seat is made with Milliput.
Finished bikes painted. 

 WATER WELL


I used Perry bases for 28mm figures, carve a hole in the middle of one of the bases, this will be the top portion of the well, prep a piece of wood as the main body of the well.

Glue the washer to the intact plastic base.

Glue the washer to the underside of the wood - the addition of the washer aids into providing a bit of weight and stability to the well.

Scribe panels onto of the plastic base.

Fix onto the wood with superglue.
Cut a piece of cardboard into oblong shaped pieces.

Glue in place covering the wood portion of the well.

I use a piece of MDF for the base and used a piece of left of plastic, bend some wire around the plastic. 

Bend some wire in the shape of a handle, drilled a hole in the plastic sprue to accommodate the handle and glued in place. Two holes where drilled into the top portion of the well and glued in place.

I made a bucket from plastic sprue and used some thread to mimic rope, I also placed a thin layer of super glue over the thread to stiffen it.

The well was painted and flock added.


CANAL BOATS
Completed canal boats both are scratched built.

Both boats are made from MDF, the first step was to cut out the outline of the boats and then use box cutters, hobby knife and wood file to hollow out the inner portions of the hull of the boat.

I used the resin barrels as a guide for the width of the inner hull.

I also used odd thin pieces of MDF to add to the structure of the boats.

Also scratched built a row boats.

The start of the wharf.

The completed larger boat, added a stirring apparatus on the stern (modified paper clip) the barrels are resin and the green cloth over the front portion of the cargo is just a piece of white cloth covered in a layer of superglue and pushed into place around the cargo till it set.


The smaller boat.


The completed wharf, the top surface was made with cardboard cut outs glued in place and painted. A plastic  drawing pin in placed towards the end of the wharf to act as the anchoring point for the boats.


These items where made for the early war event at CANCON 2020 back in January.

Cheers John