CLINK HERE FOR A COMPLETE INDEX TO ITEMS ON THIS BLOG

Sunday 12 April 2020

PAINTBALL 28mm

While searching on the web I stumbled onto the  eBob Miniatures site and discovered their 28mm Mini Paintball game. 

As a keen Paintballer, in my younger years, I owned my own Paintball gun and gear, playing on a regular basis.
Now in my older years the idea of playing Paintball without the blood, sweat and tears was very appealing so I ordered the figures and downloaded the free rules.

The game is not meant to be a complex game but a very simple, quick and fun game.   

Assembled and painted figures.


The game is played between two teams made up of 6 figures each and 2 Marshals.

The figures are supplied with Hexon plastic bases, first step is to remove any flash, glue them on the bases,add a layer of Milliput putty to the base and prime with a can of black primer.

Starting the painting process.

The red team.
Close up shots of the red team, I tried to paint at least one idem of clothing or gear in the teams colours.
Three sides of the Hexagon base are also coated with the teams colour, these serve as indicators for the figures LOS.
I also painted the clothing of all the figures from both teams in different colours for a bit of variety and interest.

The blue team.

Once all the figures were painted I added the flock.


The two Marshals.


The rules are free and can be downloaded from this link: Mini Paintball game.

The rules also include this terrain Hex, which can be printed onto a A4 sheet of paper,cut out and used as the game base, you will need tho print out 5 sheets.
The figures were delivered late in the year, I managed to print out the terrain Hexes, assemble the figures and only got to the priming stage before leaving on our family Christmas holiday up the coast of New South Wales here in Australia.
I decided to take it with us on our holiday along with the other board games we struggle to fit into the boot of the car .The image is at the holiday unit.
Game set up on the dinning table, reading up on the rules and later started playing with my young adult kids and nephews. 
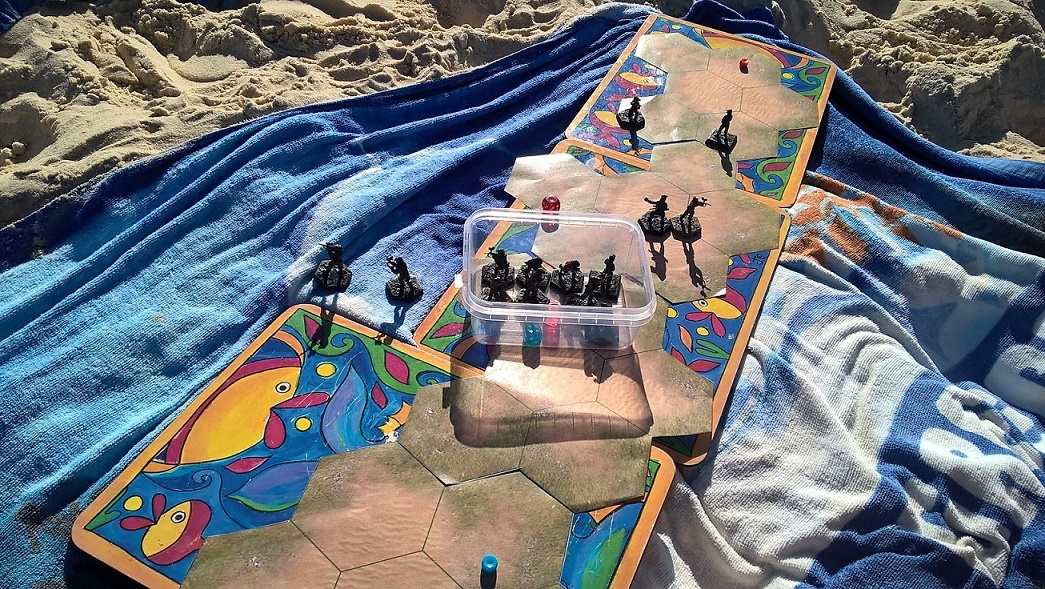
Apart from swimming and fishing, I also managed to sneak in a game on the beach ( I think I may have a addiction problem)

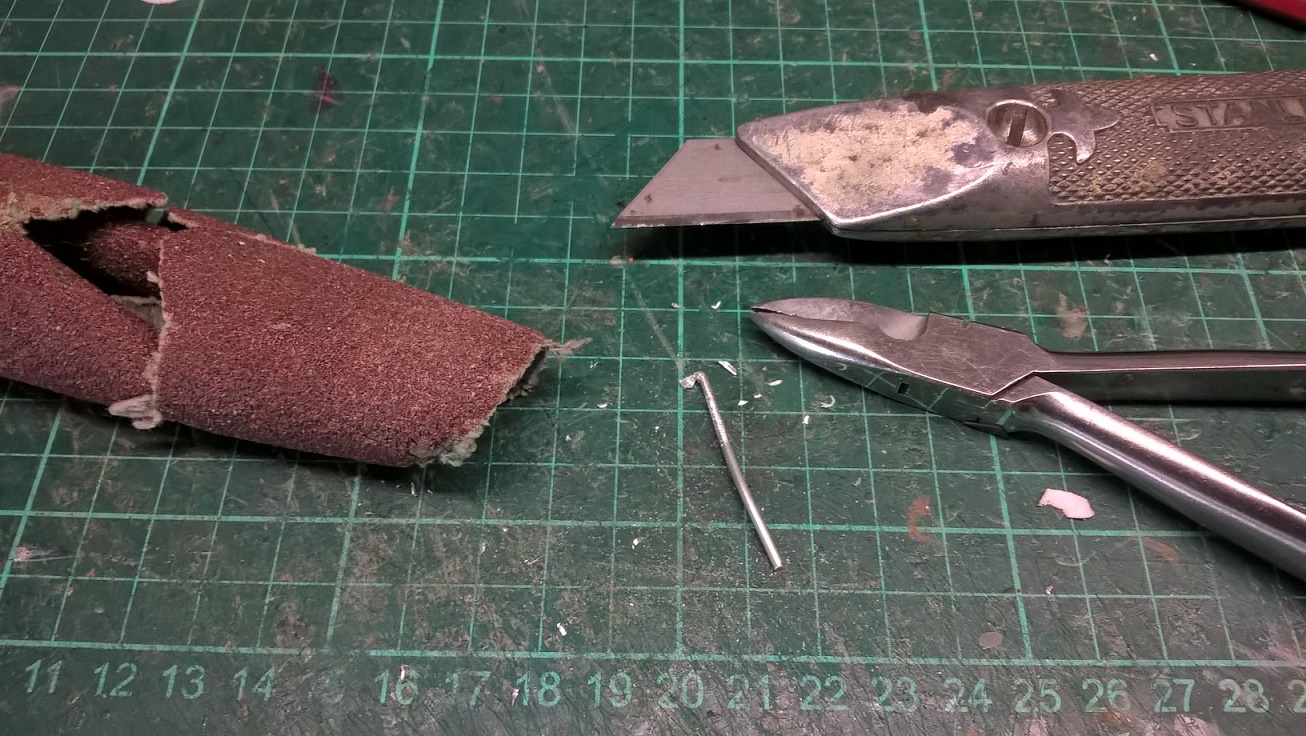
On returning home I completed painting the figures and based the terrain Hex on plastic card with PVA glue.

Once the PVA glue dried, I used box cutters to carefully cut out 4 sheets of Hex sheets with 5 grouped Hexes and 2 single hexes, the two single hexes are the home bases for each team. 
The game set up at home ready to take advantage of the current stay home restrictions playing with my young adult son.

The blue team in their starting positions near their flag.

Cheers John 

Saturday 4 April 2020

SCATTER TERRAIN: ROAD BLOCK, FIRE WOOD, LOGS and GRAIN SACKS

 More scatter terrain,  this post includes a road block which can be chosen as a Support option, a pile of fire wood, log storage and lots of sacks of grain. 


Road Block

I purchased the mini dolls house furniture initialing to scatter them among the interior of buildings but found although they looked great it become a bit of a hindrance and nuisance when placing figures within a building.
So I decided to make a road block out of most of them and only keep a few items of furniture as scatter terrain within buildings.

I used a piece of Evergreen styrene plastic as the base and glued each item of furniture on the base with superglue.

The furniture had a very plastic dull look to them, I decided to give them a more realistic look by dry brushing  with Vallejo model colour flat earth  and off white followed by random streaks  of Agrax Earthshade.

Flocked with Woodland scenic earth blend  and also added a few rocks with the flock.
different views of the road block.


BEF manning the road block on the outskirts of Dunkirk. 

FIRE WOOD FILE

close up shot of the stacked pile of wood.

Close up image of chopped wood ready for the fireplace, there is also a axe embedded on one of the blocks.

A covering to keep the wood dry.

First step in the construction is to visit the park and gather pieces of wood of similar diameter. 

Cut them into equal size pieces using a saw ( the saw I used is meant for metal cutting but I found that it gave a neat cut edge), these will be the pieces that will be used to create the stacked pile. 

Also cut up a few more smaller pieces of wood, these will be used to create the chopped pieces on the ground.  

Set up the wood without gluing them on a piece of  plastic card and outline the base size needed with a pencil.

Remove the wood and cut out the base with box cutters.

Secure each of the wood pieces on the base with super glue.

All the pieces glued in place.
The axe was constructed from wire, use pliers to squeeze together one end of the wire and flatten it.
Next use the pliers to blend the portion that was flatten at right angle.
Roughen up the surface of the wire with sandpaper and finally use the box cutters to trim of the excess wire to form a handle.


Completed axe.

Make a cut in the piece of wood and glue the axe in place.

Now to make a cover cut a piece of cotton into a square.

Soak it in PVA glue and mould it over the wood.

Once the PVA glue is dry, fine tune the cover with the use of super glue.
Once the super glue has dried, use green paint to paint the base and cover and flock the base with Woodland scenic earth blend.


BEF Bren team on overwatch.
LOG STACK


Once again gather some wood pieces of roughly equal width.

Trim them to equal lengths.

Glue them onto  a piece of plastic card with super glue.

Once the longer pieces are glued in place,trim 4 short pieces of  wood of the same diameter and punch them thru the base  and glue in place.

Cut out the base and chamfer the edges using box cutters.
The 4 smaller pieces of wood embedded in the base seemed a bit to high so I trimmed them down as can be seen in the following image. 


Final step was to coat the base with some green paint and flock.
The great thing about using real pieces of wood is that you don't need to  paint them.

More BEF troopers using the logs as cover.

GRAIN SACKS.


I picked up some of these items in a second hand store at the MOAB event.
They are made from plaster, I also sculpted some of them using Milliput and based on Everygreen stryene sheets. 

The ones that have grain spilling out are ones I made.

They were first coated with a black primer and dry brushed using Vallejo model colour German camo biege.
Highlighting was done by adding increasing portions of VMC Iquai sand  to the base and finally adding some stains on the bags using Agrax earthshade.
The base was painted green and flocked.

Cheers John