CLINK HERE FOR A COMPLETE INDEX TO ITEMS ON THIS BLOG

Friday, 4 March 2016

BRITISH INFANTRY 28mm: Snipers, Adjutant, FO,Medic,PIAT and 2" Mortar,

These are my new additions to British Support List
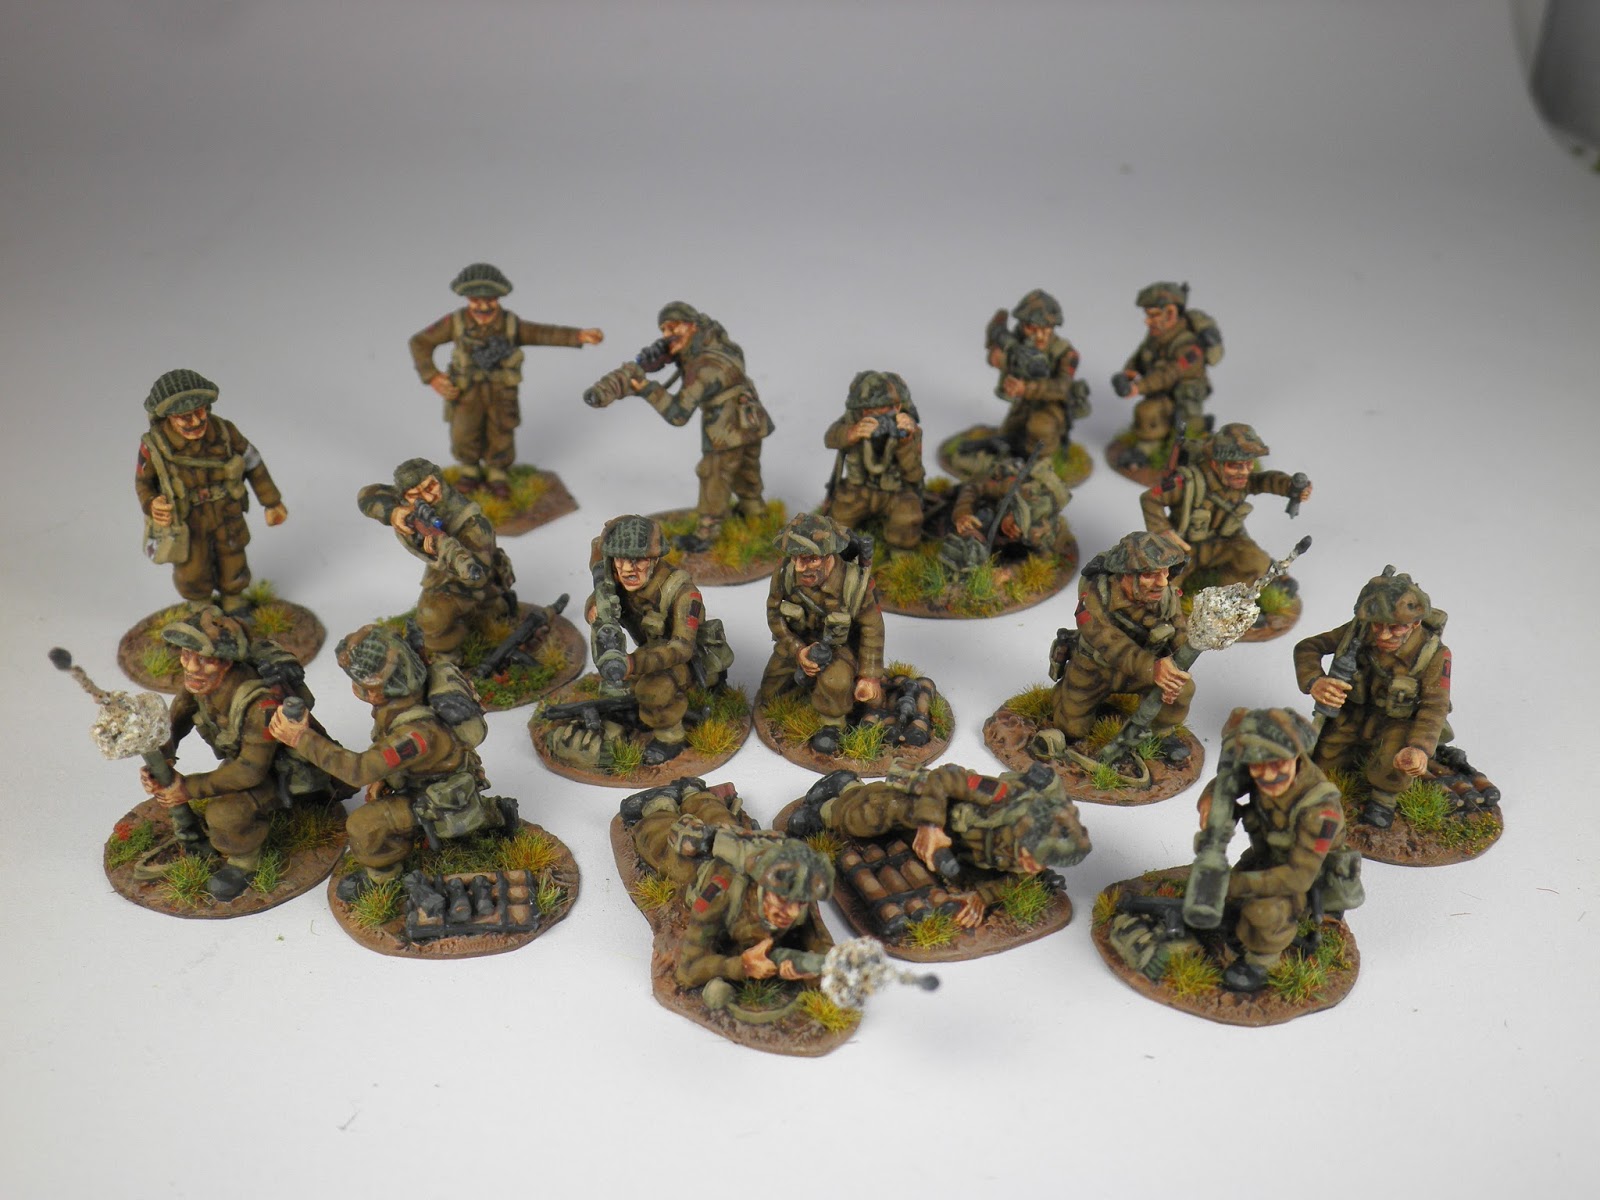
British Infantry 28mm: Sniper, Adjutant, FO, Medic, PIAT, 2"Mortar. 


The snipers are modeled from images on the web of Canadian snipers.The standing sniper is a metal figure, the loader of a 3" mortar. I performed metal surgery and removed his head and arms and replaced them with plastic ones from  warlords British Infantry kit together with a sniper rifle.I used "liquid green stuff" to blend in his leather jerkin with his shirt to make it look like a Dension smock and modeled  a scrim over his head.

The kneeling sniper is plastic, from warlords Brit Infantry, I also used "liquid green stuff" to modify his shirt into a Dension smock. Added a knife strapped to his leg, a Sten with a silencer,ammo sling and partially covered his face with scrim.
Camo strips on rifle done with Miliput and white styrene strips used for gun straps.


All these figures are plastic, the FO team's radio and Medic bag are scratch built, some plastic surgery performed on the FO radio man and guy with the binoculars.


The PIAT teams are all plastic, modifications were made with the inclusion of a PIAT round in the chamber ready to fire, gun  straps where added together with helmet straps moulded with 'liquid green stuff'. For a bit of variety I placed the firer's back pack on the ground with a Sten resting on it. As usual, I got a bit excited and made up 3 teams.


The Mortar teams are also plastic, when viewed from the gaming table I wanted to differentiate the 2" mortar teams from the PIAT teams as both groups are in a kneeling position(and my eye sight isn't the best) .
This was achieved by adding a shell exiting  the mortar together with a puff of smoke.
The only other conversions are the helmet,rifle straps and a cover for the top of the mortar.


HOW TO MODEL A SHELL EXITING THE MORTAR

I used this image as a reference, found on You Tube.
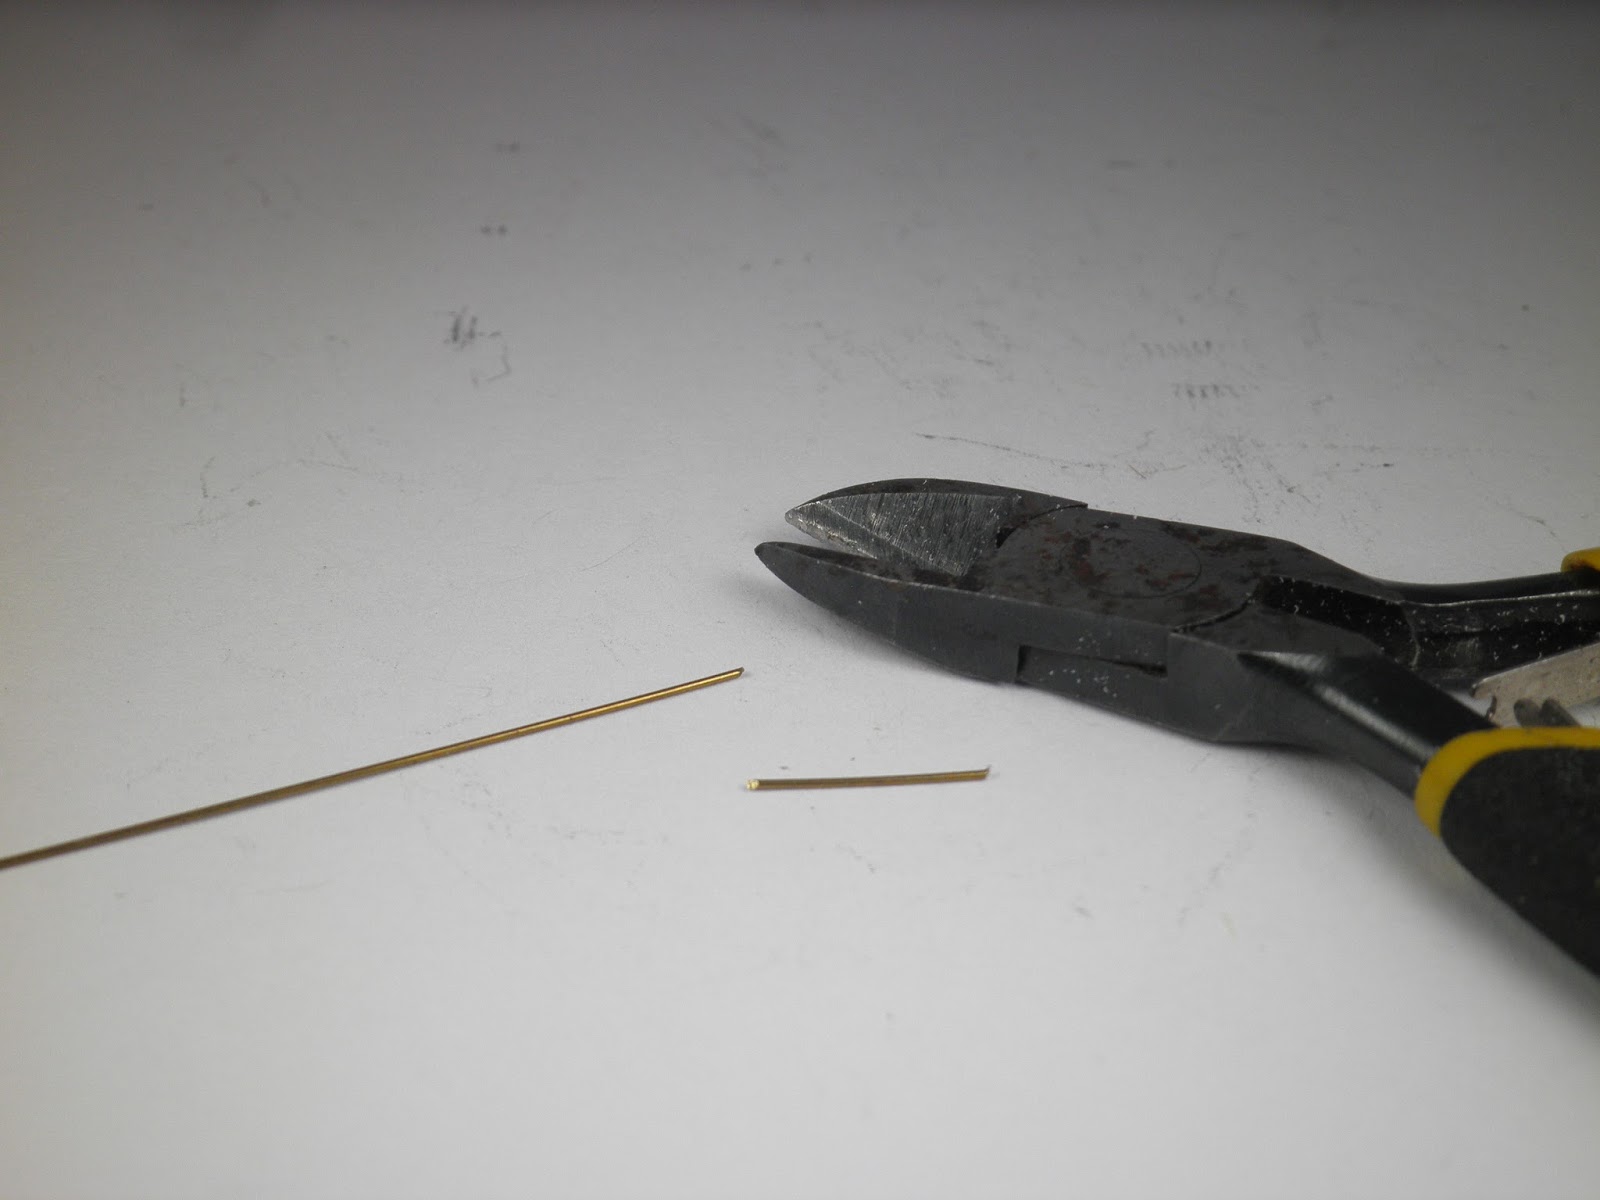
cut a suitable size off a thin brass rod

Use a suitable putty to mould the shell
Super glue the fine turf flock onto the shank of the rod and glue the small clump of denser flock towards the base allow a bit of the rod to be inserted into the mortar.
Using a fine drill carefully drill into the barrel of the mortar
check the depth and make any necessary adjustments
You can trim the flock or push it about to the desired shape and seal it with super glue. Paint, Off white,followed by a black wash, then dry brush with off white and or Iraqi sand followed by spot painting with off white
 Paint 
the shell Black grey and highlight, 
Once dry, super glue into the barrel and there you have one mortar shell exiting the barrel


Tuesday, 23 February 2016

17 POUNDER ANTI TANK GUN 28mm

17 Pounder Anti Tank Gun 28mm

The 17 pounder is the next addition  to my Late war British Support List.
Again its from warlord games,the gun came with metal figures, 4 crew members and one Senior Leader so I only needed to make up one addition crew member from the plastic British Infantry box.
Currently working on Bren Carriers, Half track and light Infantry support weapons hope to finish them soon.

Coated with black enamel paint
Once the gun was painted I glued the gunner into place on the gun. 
Rest of the crew with the Senior Leader in the middle( the first figure is the plastic conversion). 


Wednesday, 17 February 2016

6 POUNDER ANTI TANK GUN 28mm

6 pounder Anti tank Gun 28mm

Next on the Support List for the Brits is a 'Bot action" 6 pounder with 5 crew and one Senior Leader. 
The gun came with three metal crew members and again, I supplemented the crew with an additional 3 plastic conversions from the plastic British Infantry. 
I experimented a bit with the addition of a camo mesh partially covering the front of the gun.
Next paint job, 17 pounder.

Undercoated with Black enamel paint
Painting done, the firer is super glued to the base
Rest of the crew with a Junior Leader, the first and the last two guys are the plastic figures I converted.


Sunday, 14 February 2016

VICKERS MACHINE GUN 28mm

Vickers Machine Gun  28mm


Continuing working on my Support Troops for my yet to be painted British Platoon, this being a Vickers Machine Gun, with 5 crew members and 1 Junior Leader. 
I converted 3 infantry figure to make up the balance of the crew. 
I also replaced the metal heads on the gunner,loader and the guy with the ammo pack with heads from plastic British Infantry so that they blend in better.

(note : thanks to all the guys who reminded me that the MMG team does not need a Junior Leader in Chain of Command  game)

After taking the photos I did notice that the  metallic brass paint on the bullets seems to faded away with the application of gloss vanish, which needed to be touched up, In the  future I think I will apply the metallic paint after the completion of the varnish stage. 

5 crew members + 1 Junior Leader


Friday, 5 February 2016

BRITISH ENGINEERS 28mm

                               British Engineers 28mm

Part 2

Finally finished painting my British Engineers, its the first time I've painted 28 mm miniatures and its been a big learning curve for me, working out what paints to use and how to apply them. After a number of attempts at painting I finally ended up with the following results.


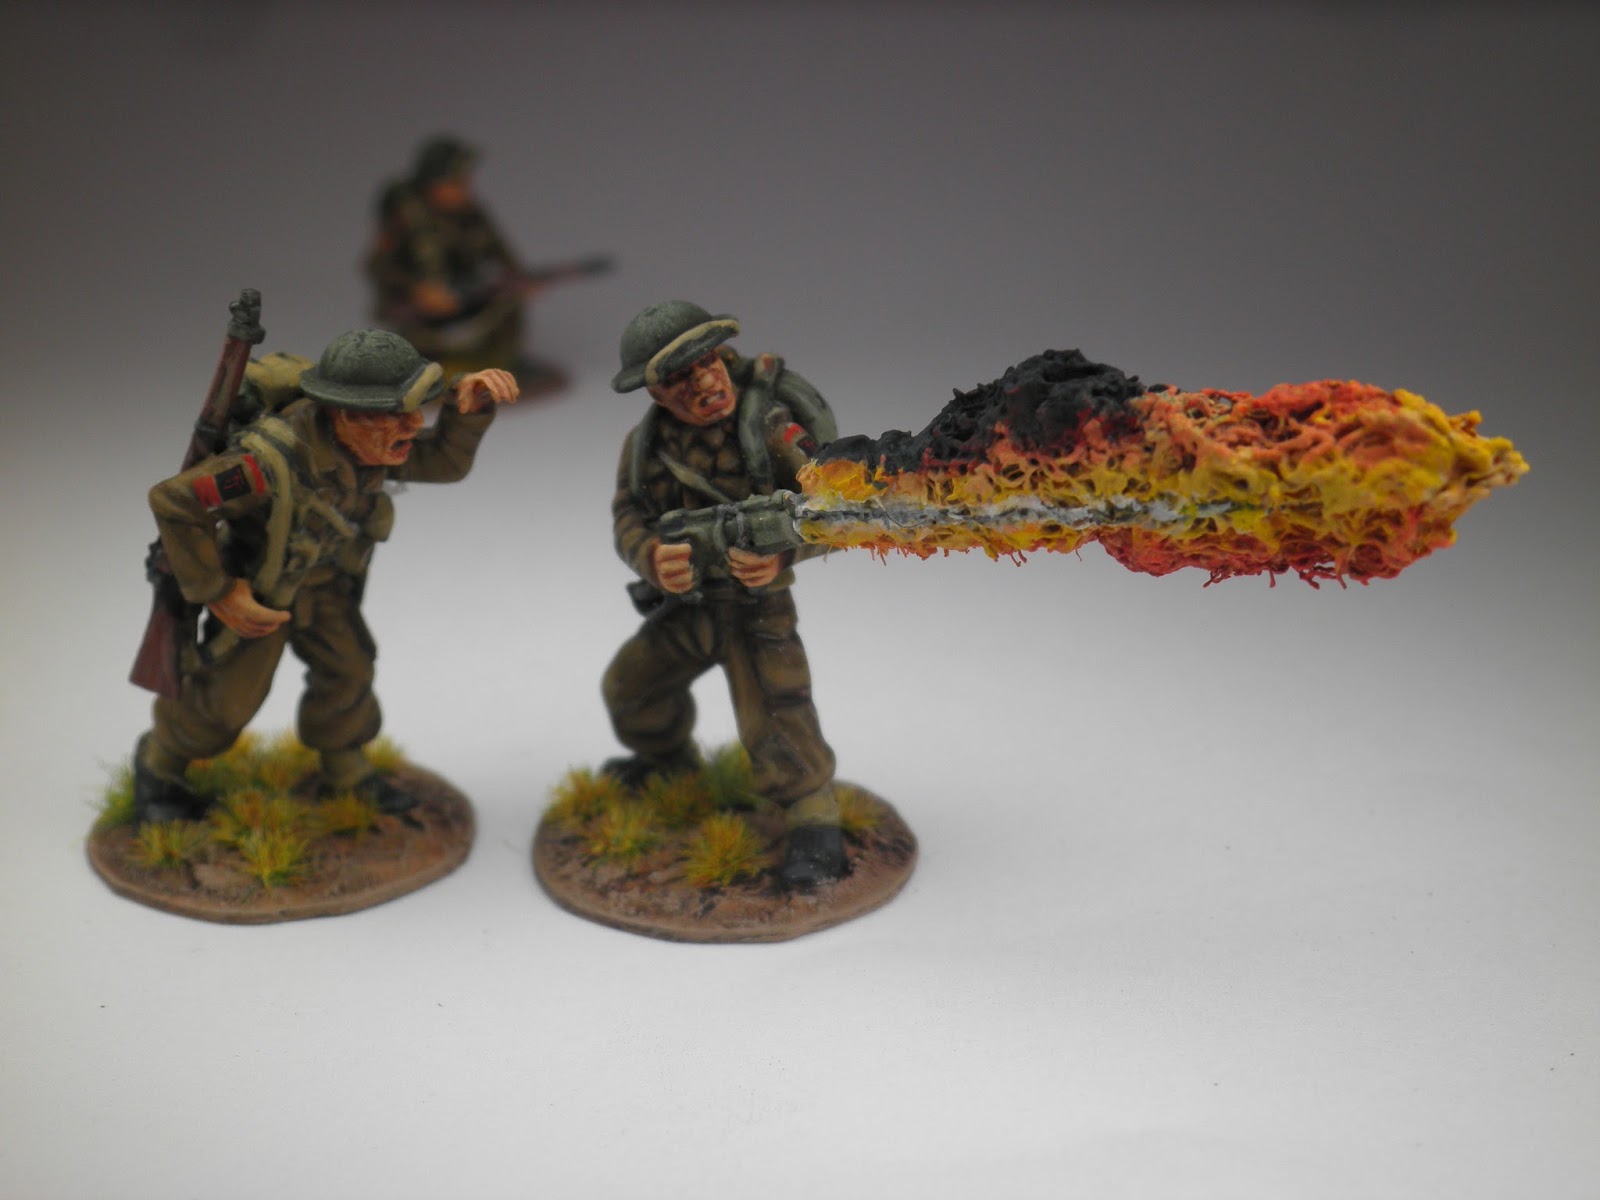
HOW I MADE THE FLAME THROWER FLAME


  1. Cut a suitable length of brass wire. 
  2. Drill a hole into the front of flame thrower gun, allow sufficient deep to anchor the brass wire.
  3. Place super glue into the drilled hole and insert the wire.
  4. Paint  figure
  5. Use any type of polystyrene  fiber (pillow filler, aquarium filler cotton etc) for the flame.
  6. Cut small pieces of fiber and use the super glue to fix onto the wire, do this step until the wire is covered with fiber.
  7. Apply small amounts of super glue  over parts of the fiber, using a carving instrument dabbed in water to start push and pull the fiber into the  desired shape, I used  a photo as a reference for shaping the flame.
  8. Allow to dry, you can further shape the fiber by using scissors or any cutting instrument.
  9. If you are happy with the desired shape apply super glue over all the fiber to seal it and allow to dry.
  10. Paint the flame using the colors in the picture, the flame sequence is white to yellow to orange to red and black. This stage was done over a couple of days, hint: it helps to blend the paints while they are still wet . 
  11. Seal with a matt varnish.


Saturday, 16 January 2016

CHAIN OF COMMAND JUMP OFF POINTS


CHAIN OF COMMAND LATE WAR BRITISH JUMP OFF POINTS
I just completed my first Jump off points, these ones are for my Late War British Infantry. The bases are magnetic so they can be stored easily in a container on a thin sheet of metal.


STEPS FOR CONSTRUCTING JOP


To construct the base, I bought some cheap magnetic L plates from a 2 dollar store and remove the label.


I used a 30 mm metal washer as a guide to cut a the circular shape with again my wife's nail cutting scissors.


I find the adhesive on these cheap L plates is not strong so one can easily remove the adhesive by 
rubbing and rolling with fingers.


Scribe in  retention on the non magnetic side for the putty.


Apply a thin layer of Milliput and allow to cure.


I have super glued some of my left over bits from Late War British Infantry along with some DIY petrol drums, constructed from plastic tubing, wooden crates from balsa wood and used some self adhesive Bandage for netting.  One big point to note is paint these items separately before you glue them down onto the base, it will save you a lot of time - I found this out, the hard way.


I applied a layer of  enamel black undercoat


Applied a layer of Vallejo Model Colour 70889 USA Olive Drab and also a layer of Agrax Earthshade  wash.


Painted all the items - again I stress better to  paint these item first before gluing  them down.


Last of all I painted the base, applied a Matt Vanish and applied some flock and there ready to deploy troops.


Monday, 11 January 2016

CHAIN OF COMMAND COUNTER

CHAIN OF COMMAND PERSPEX COUNTER 
On returning home from a long Christmas  holiday, I spent the first day back constructing another CoC counter. I tried to improve, streamline and provide more info on it.( its a bit of a rush job). 


Its the same size as the previous one but constructed from perspex. (the Brits there for scale ,its not finished ,still trying to workout how to paint 28 mm figures )


Brief description of its function:
  • The Chain of Command dial tracks the number of 5's rolled 
  • The 2 green dice are place face up 'blank' in the 2 spaces provided above the Chain of Command dial, when this dial reaches 6, one green dice is turned to reveal the words 'CoC dice' which in turn indicates the player has a Chain of Command dice available for use.
  • The Force Morale dial "as you can guess" tracks the morale of the force.
  • The list on the left side of the Force Morale dial indicates the initial roll of a D6 to determine the Morale of your troops with the added modifiers if its Green or Elite.
  • The list in the middle indicates the time a Morale roll test is required.
  • The area marked as 'Command Dice' house up to  6 Command Dice. 


  • Use a hack saw to cut the Perspex.
  • All perspex surfaces were very lightly sanded with 400 grit sand paper to remove the gloss shine, to produce a  Matt finish.
  • I  removed the small CoC dial on the original counter that indicated the number of Chain of Command Dice available and replaced it with Green dice. 
  • The Green dice are cheep dice from a newsagent with the pips sanded off .
  • I used  a electric hobby type grinder to scribe into the perspex  the words and then flowed the desired paint colour into the letters and lightly sanded off the excess paint with 400 grit sand paper.
  • Interscrews where used to hold the two dials in position on the base of the perspex.
  • Super glue was used to cement the strips of perspex that form the borders of the dice rack.


Until the next upgrade of the Chain of Command counter.