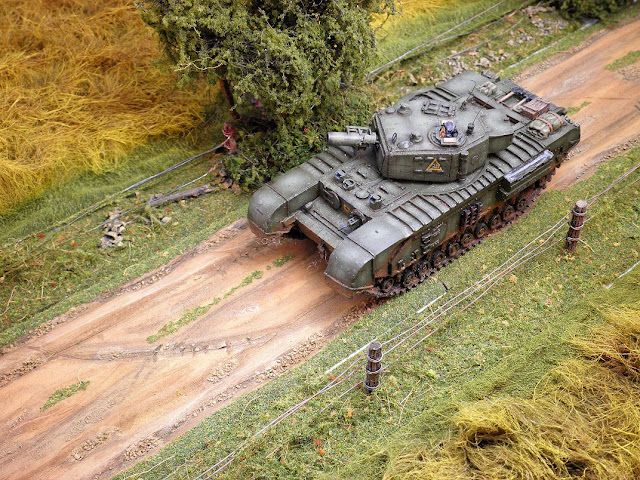
In this post I explain how I made my dirt roads from MDF:
* thickness: 3 mm,
* length :9 inches (22.5 cm) - I intended to make them 12 inches (30.5 cm) long but thru a miss calculation I ended up with 9 inches.
* width: 31/4" (8.5 cm)
Completed road section
Or 1 x large vehicle
First step is to cut out the desired road sections straight ,curved,T and L sections, enough to cover a gaming table.
Next step is to apply a undercoat via spray can on the bottom of the roads.
Then use box cutters to chamfer the edges along the length of the MDF only.
To create 2 channel measure 1cm and 2 cm from both edges using a pencil
Using box cutters cut into the MDF at a angle and in a wavy line. keeping the pencil line in the middle.
This should be the final result.
Now cut small pieces out of the edge of the channels to break up the neat wavy line.
use the point of the cutters to grind in sharp lines in the channel,
Rough up the surface of the road using very coarse sand paper.
A file is used to enlarge the channels
Use a small piece of very coarse sandpaper to smooth- en the inner surface of the channels.
Line are created with the use of the file pointed tip on top of the road surface.
notches are created with the box cutters to try and simulate tank tracks embedding in the road surface.
PVA glue is applied to the varies places on the road and in the channels as desired and sprinkled with tiny pebbles.
Lately small very thin layers of milliput is applied on the road surface.
Painted with thin coat of Vallejo Model colour Desert Yellow.
A wash in applied using Vallejo Model colour Chocolate Brown.
A Black wash is applied in the depths of the channels and certain areas as desired and highlighted with Vallejo Model colour Desert Yellow ( this can be lighten if desired by mixing in a bit of Iraqui sand colour.)
PVA is applied to the edges and small areas on the road and flock applied.
I used only fine flock so that I can stack the roads on-top of each other when stored away.
I used only fine flock so that I can stack the roads on-top of each other when stored away.
Cheers John


Great tutorial, thanks for posting.
ReplyDeleteCheers, Andy
Thanks Andrew
Deletecheers John
Love your work John.
ReplyDeleteHave you thought of using the likes of Woodland Scenics "Earth Undercoat" as an option for things like this? I find it a cheaper option - and it can give multiple effects depending on how much it is diluted and how many coats used.
Thanks Phil for your comments and the heads up about the Woodland scenic product, I should look into it.
Deletecheers John
Good tutorial
ReplyDeleteThanks Michael
Deletecheers John
Impressive tuto, thanks for sharing!
ReplyDeleteThanks PHil
Deletecheers John
Very nicely done.
ReplyDeleteThanks John for your comment.
Deletecheers John
Thanks Reginald
ReplyDeletecheers John
5 star tutorial... Thank you for sharing
ReplyDeleteThanks Gary for your comments
Deletecheers John