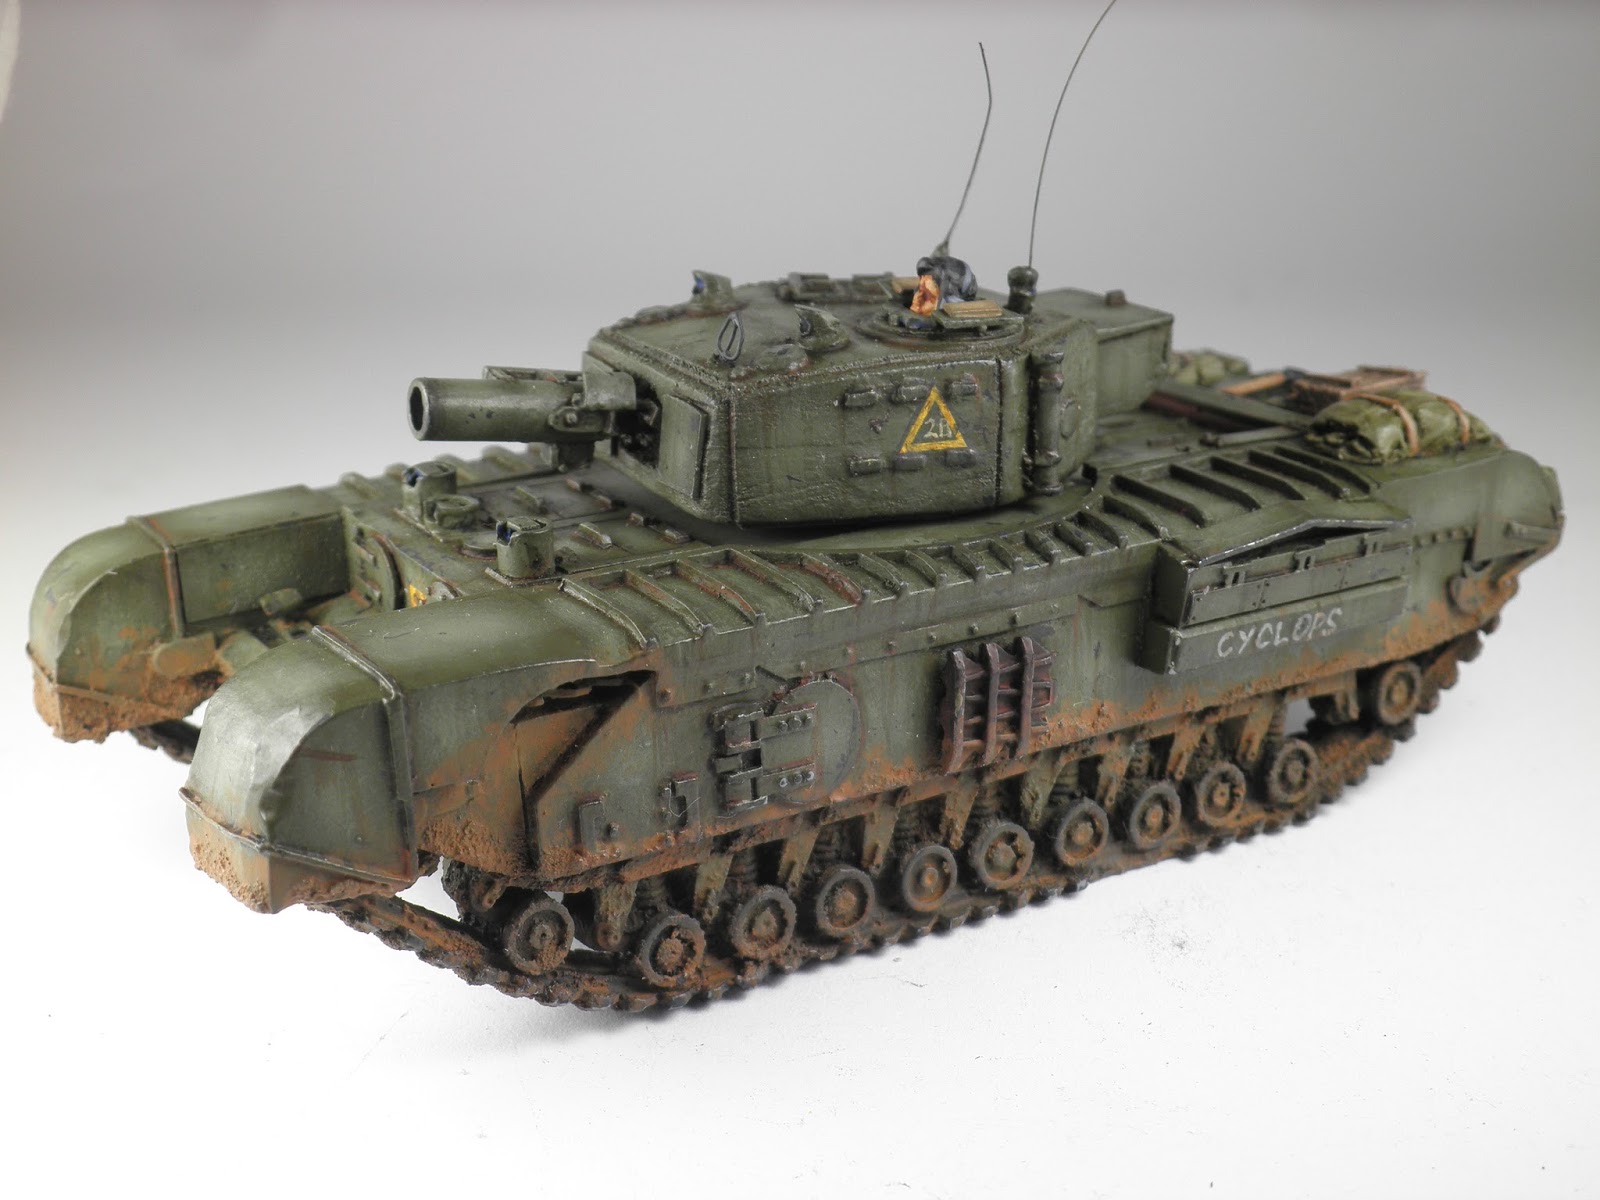
CHURCHILL TANK 28mm + SCRATCH BUILD AVRE TURRET
Continuing to build up my late war British Support List, now with Armoured vehicles.
I have been busy assembling and painting vehicles while also working out a system for painting these vehicles.
While visiting Andy's excellent COC AAR at: TINYHORDES
I decided I needed a Churchill AVRE. I pulled out my resin Warlords Churchill MK VII out of the box and decided I would have "a crack" at building a AVRE turret from scratch (instead of forking out another 50 bucks to buy one,I also saw it as a bit of a challenge).
The plan is to have 2 turrets, the normal Mk VII turret and the ARVE turret that could be used interchangeable with the Mk VII chassis.
Here is the result !, happily named CYCLOPS.
HOW I CONSTRUCTED THE ARVE TURRET
 |
| 1.Trace outline of turret on paper and cut out shape. |
 |
| 2.Clamp 2 pieces of 3mm MDF board together,trace the turret outline, using a saw cut out and superglue together. |
 |
| 3. Outline the slope on the front of the turret in pencil, chamfer using a wood file and sandpaper. |
 |
| 4.side view of trimmed slope |
 |
| 5. Outline the step on the perimeter on top of the turret, using a modelling knife cut along the marked line |
 |
| 6. Continue cutting into the side of the turret and finally file down to create the step. |
 |
| 7.Make 2 cuts into both sides of turret. |
 |
| 8. Using sprues from left over model plastic kits, styrene pieces and brass rods, I was able to add the detail on the turret with the use of super glue to fix items in place. |
 |
| 9. I fixed a sheet of styrene on the bottom of the turret to allow for clearance as the turret rotates. I used plastic conduit to link the turret to the chassis. Using a pencil mark the height that needs to be removed. |
 |
| 10. Using a hacksaw cut the conduit to size and check fit. |
 |
| 11. Check the clearance, remove turret and place glue on top lip of conduit, place it in the chassis then carefully place the turret onto the conduit, allow the glue to cure and remove. |
 |
| 12. To hold the turret in place and allow it to rotate I cut out a thin sheet of metal from a tin can and super glued inside the turret area on the chassis. I also used 3 mm x 1 mm earth magnets fixed onto the bottom of the turrets. |
What would I have done different?
To achieve a more smoother surface on the wooden turret, I would have encased it with thin styrene sheeting as I did with the large bin at the back of the turret. This would have also eliminated the need to cut out the step on-top of the turret and the grooves on the side.
 |
| Churchill AVRE |
 |
| Churchill Mk VII |


Very impressive work John. The sculpted crew heads are a nice touch.
ReplyDeleteWhat's the gunk you've used for the mud?
Thanks Andy, the gunk is very fine pumice (almost like powder).
DeleteI use two methods of applying it.
1.Apply PVA glue on particular surfaces of chassis and then sprinkled the pumice on and shake off excess.
2. mix the pumice and PVA on a stab of glass and add a touch of water for a thicker mixture and use a old short brittle brush.
You could get it for free If you know anyone who is a Dental Technician/Dental Prosthetis they use it to polish dentures, at the end of the day they usually throw it out.(that's where I got mine from)
I then painted it with Vallejo Flat Earth paint, first used a wash then touched up the areas I wanted to highlight.
hope this helps
On the ARVE I used method number 1
Deletecheers
Very nice!
ReplyDeletethanks siggian for your comment:-)
DeleteThat scratch-built turret is awesome! Simply amazing quality.
ReplyDeleteSuperb painting too!
Well done mate :o)
Matt
Thanks Matt :-)
Delete