Previously I had scratched build a ARVE turret see ARVE from MDF, this time I continued with the construction of the trailer in MDF but I encased it with Styrene sheeting.
Working out the dimensions and design, was challenging, as I had to rely on images found on the web.
Here is my latest addition to my Brit Support list a conversion kit to transform my Churchill into a Crocodile Flame thrower tank.
 |
| Churchill with Trailer |
 |
| Flame Projector |
 |
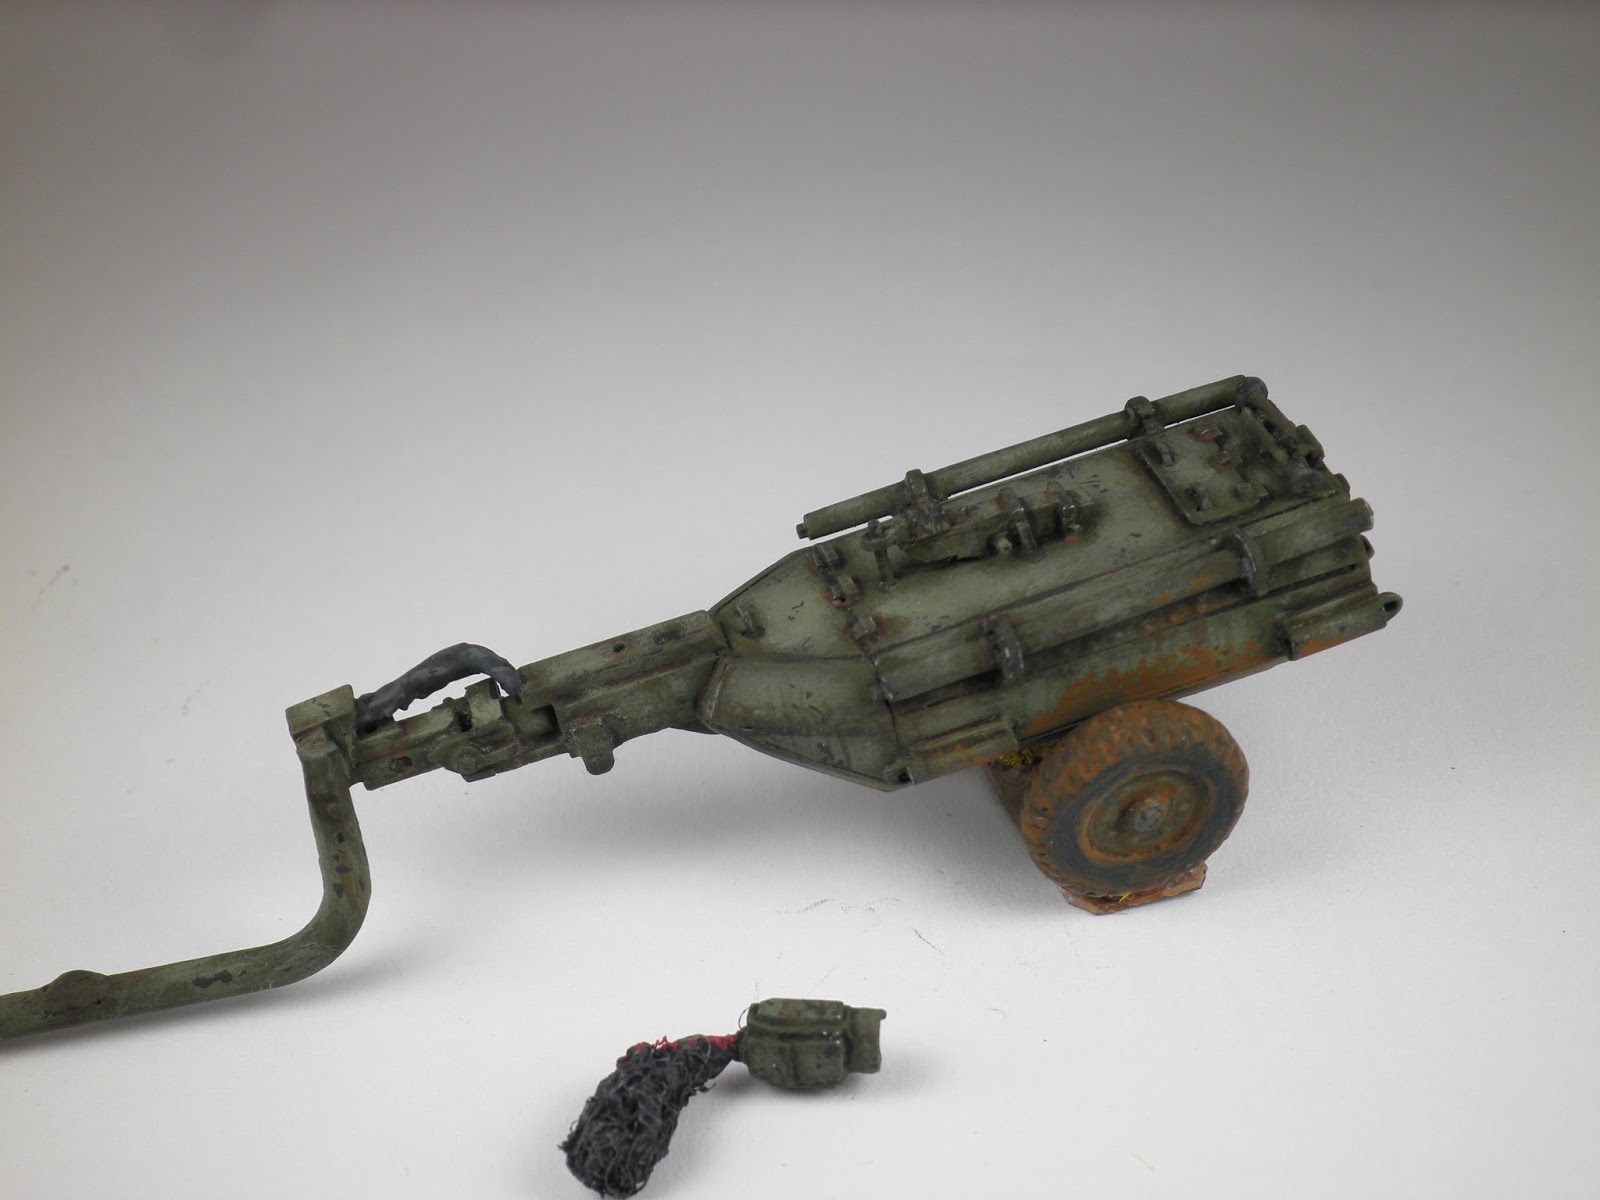
Completed Trailer ready for undercoat made from styrene plastic sheets,spare plastic sprues,brass rods and Green Stuff.
|
 |
| Completed Flame Projector, I used polyester filler to construct the smoke see How to make a flame thrower flame and placed a tiny magnet on the base for the purpose of storage. |
 |
MDF 5mm sheets used to construct trailer.2 identical pieces where cut out and super glued together.
|
 |
| measurements placed on the block. |
 |
| systematically cut and filed away the designated areas and finely finished wooden trailer body. |
 |
| Unlike the ARVE turret I previously constructed, I encased the wood with styrene sheets. The process involves placing super glue on the wood, placing a sheet on the glue ,allowing to dry and then scribe the plastic with a hobby knife and clip off the excess. |
 |
| Completed encased trailer. |
 |
| For the wheels I cut 2 circles from MDF build up one side with plastic odds and ends and finally used Green Stuff to form the tyres and wheel nuts. |
 |
| Wheels attached with a plastic sprue from a left over Infantry kit. I also attached a sprue to the front of the trailer as an anchoring point for the trailer. |
 |
| Undercoated with Flat black Enamel paint. |
 |
| Completed paint work |
 |
| On the underside of the tank I used a hobby drill to create 2 holes and glued 2 magnets in place. |
 |
| The magnets on the tank will serve as anchoring points for the trailer arm which also has 2 magnets attached with an additional magnet placed at the end of the trailer arm to assist in storage. |
 |
| Image showing the attached trailer to the underside of the tank. This arm in reality ran further along the underside of tank and came up thru the floor where the flame projector was located. The flame projector was located where the hull MG would normally be positioned. |

 |
| Added a tarp on top of the trailer for a bit of contrast. |


 |
| First imagine shows the hull MG, the second the Flame projector in position mounted over and encasing the MG. |
 |
| The Flame projector fits snugly and easily comes off/on over the MG..............."Need a light"....... Mmm ..maybe not! |
Absolutely stunning work John! The care, detail and skill demonstrated here is simply amazing. Really well done sir! :-D
ReplyDeleteMatt
Once again thanks Matt for your comments
Deletecheers
I like you Churchill.
ReplyDeleteThanks Telamon
Deletecheers
Painting and conversion 'Master Class'. Great ideas once again John.
ReplyDeleteThank you Pat
Deletecheers John
I really should get more confident with magnet usage. You've done yet another blinding job with his beauty of a beast.
ReplyDeleteThank you Dia, yes the magnets are very handy.
Deletecheers
that's a brilliant idea, I'm definitely going to give this a bash
ReplyDeleteThanks JimBob, good to hear that you are going to give this a go,please post your results on facebook, good to see.
Deletecheers John