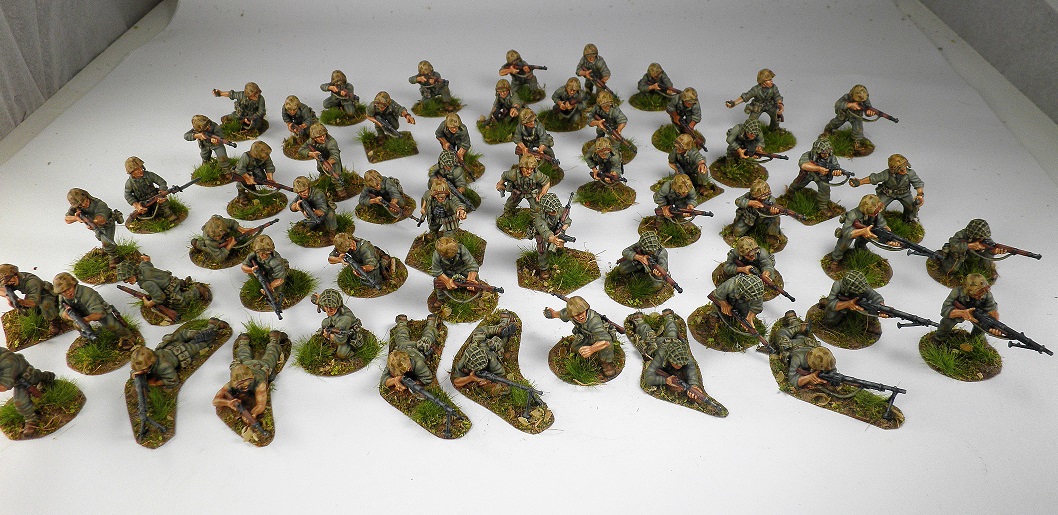
US Marine Platoon ready and waiting in anticipation for the Chain of Command Pacific supplement. These plastic figures are from Warlord games, they are heroic in proportions and are a bit taller than previous Warlord games figures.
They need assembling with the aid of plastic glue, though they are plastic, the detail on the models are crisp and this helps immensely when painting the figures. The majority of the figures postures are supplied standing, I wanted more of the figures to be closer to ground level. I converted a number of figures into kneeling positions resulting in half of Squad kneeling or in prone positions, instead of the usual majority of them standing.
I also put enough infantry together to field Three Sections or as the Americans called them Squads, with an additional Squad, for a Support List option. I also converted one of the figures into a Corpsman, also for the Support List option.
I have also included a Painting Guide, at the end of this post for painting them.
 |
| Two Senior Leaders |
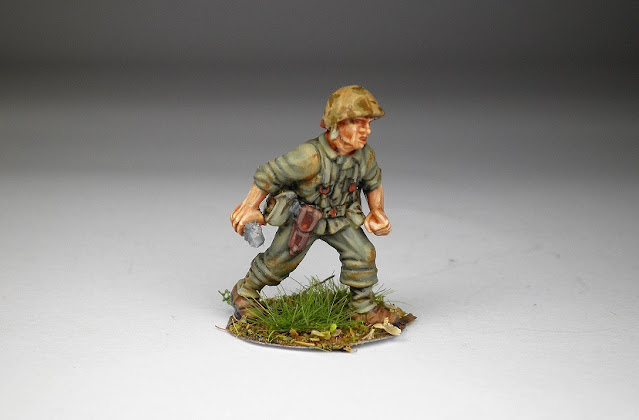 |
| Corpsman, note he is also armed with a side arm for self defence, as the Japanese were notorious for targeting them. |
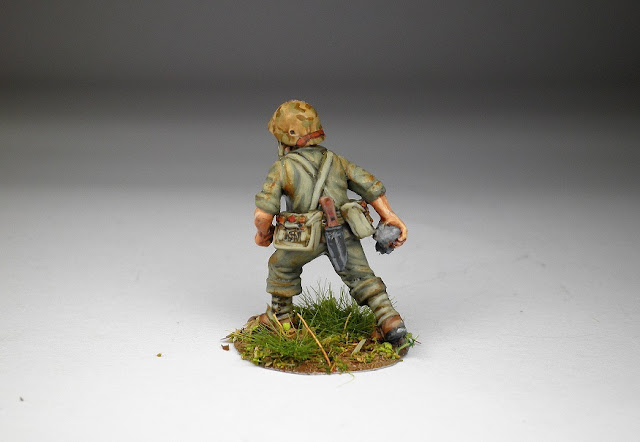 |
| He is also issued with a larger knife intended for clearing brush and cutting wood for litters or shelters poles. |
 |
| Junior Leaders |
 |
| More Junior Leaders |
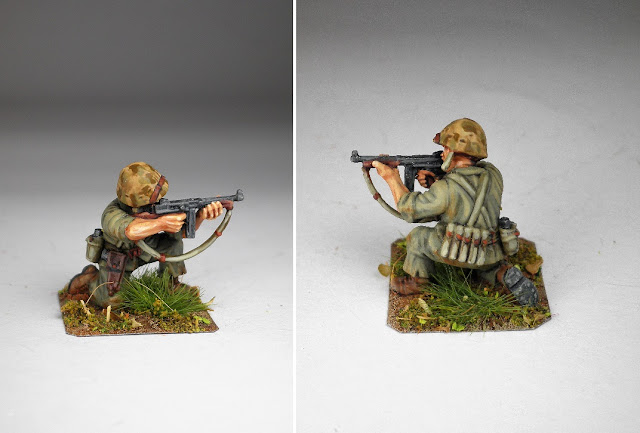 |
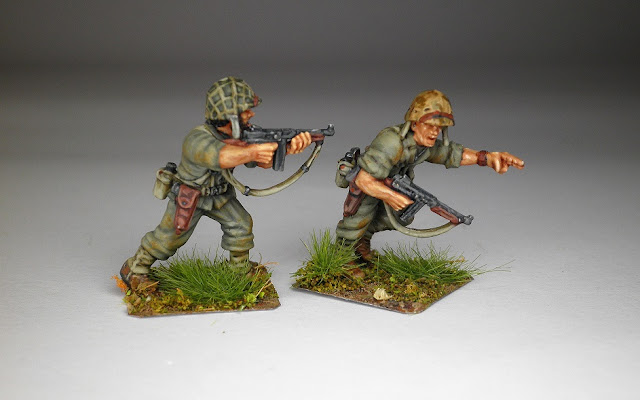
| Junior Leader with Thompson machine gun. |
 |
| A bit of plastic surgery to convert this figure to mimic the pose from the photo. |
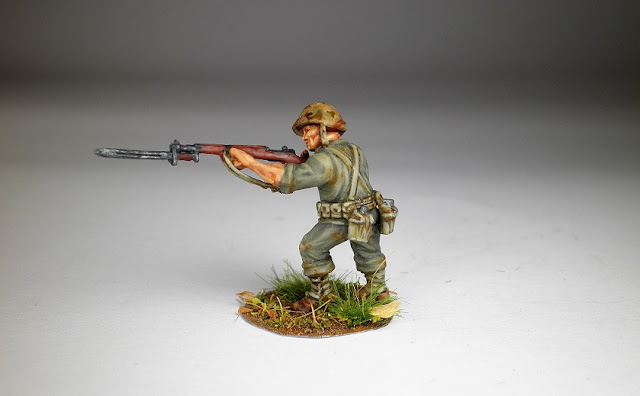 |
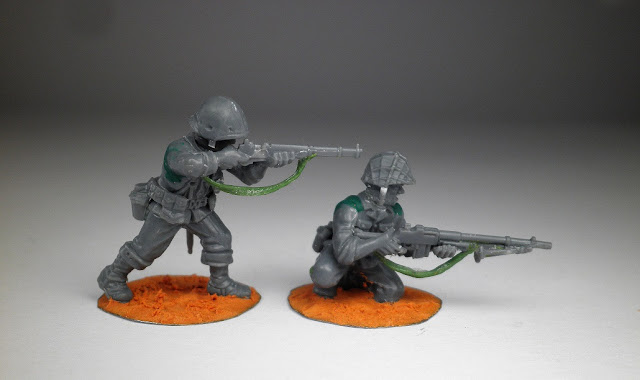
| A riflemen shooting, again used this image below, to convert the figure into the pose. |
 |
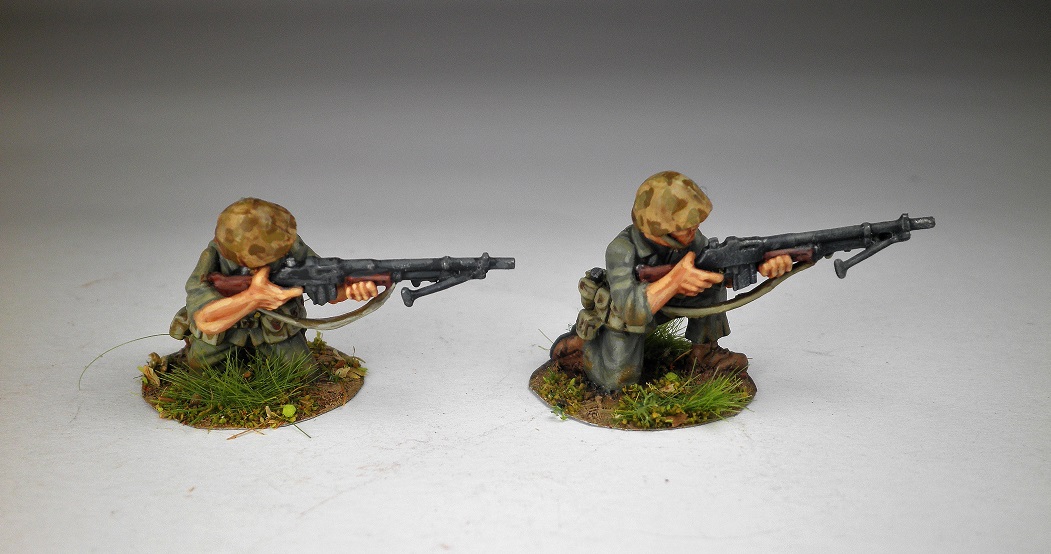
| The BAR gunner on the left was modelled using the image below. |
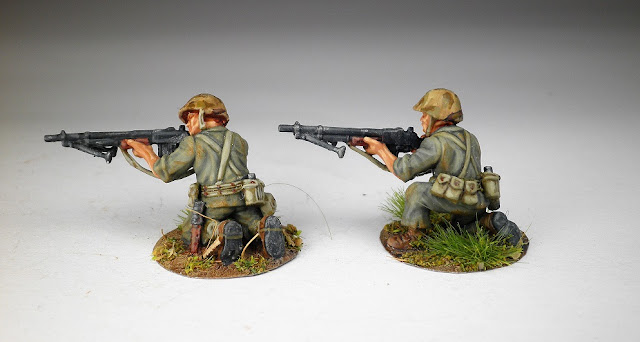 |
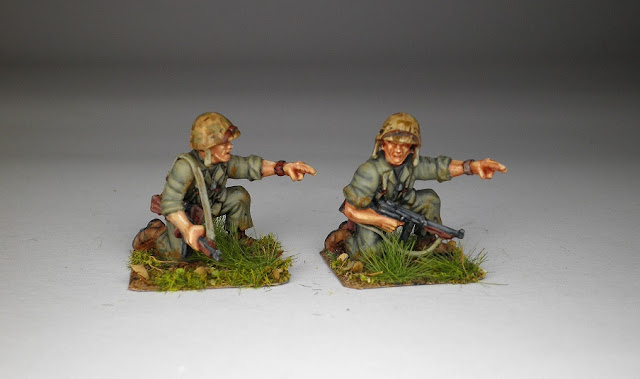
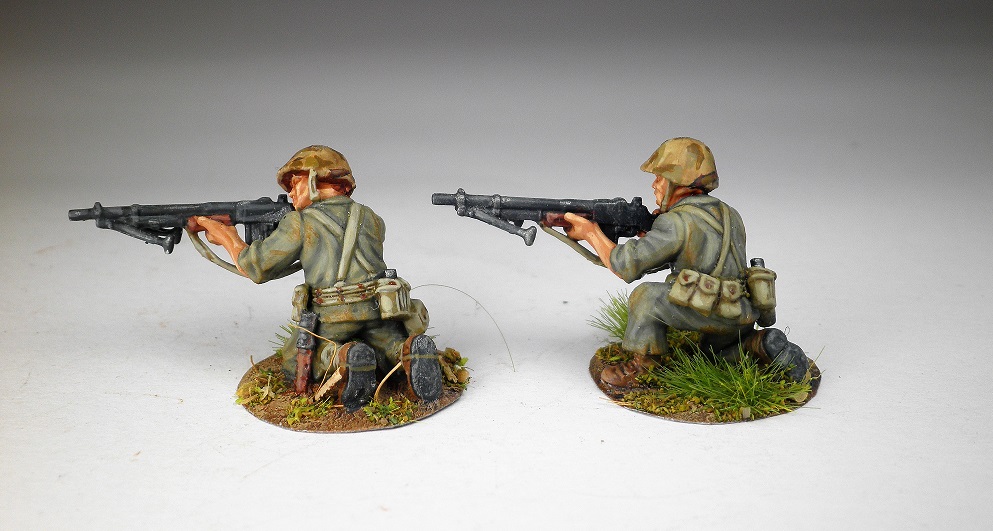
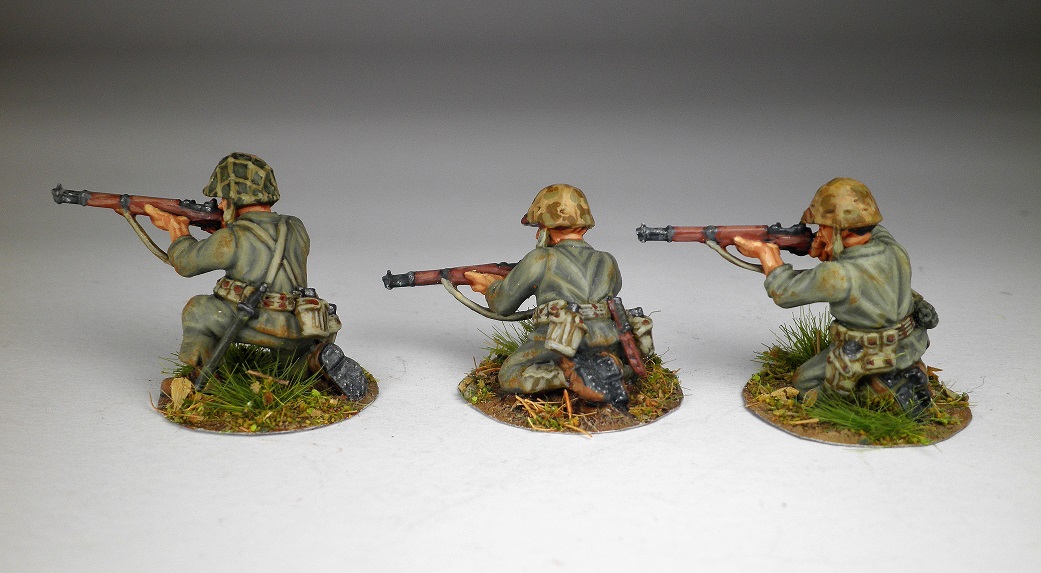
| BAR gunners kneeling. |
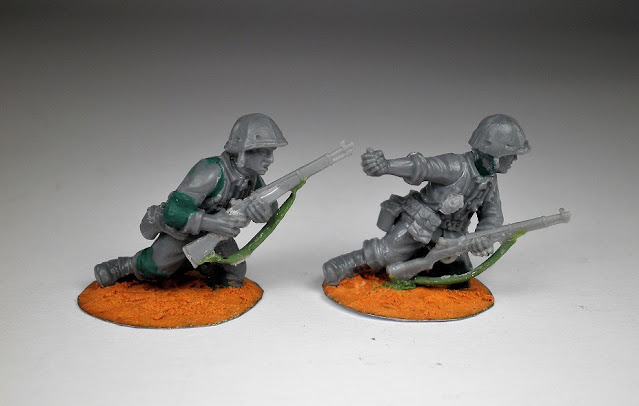 |
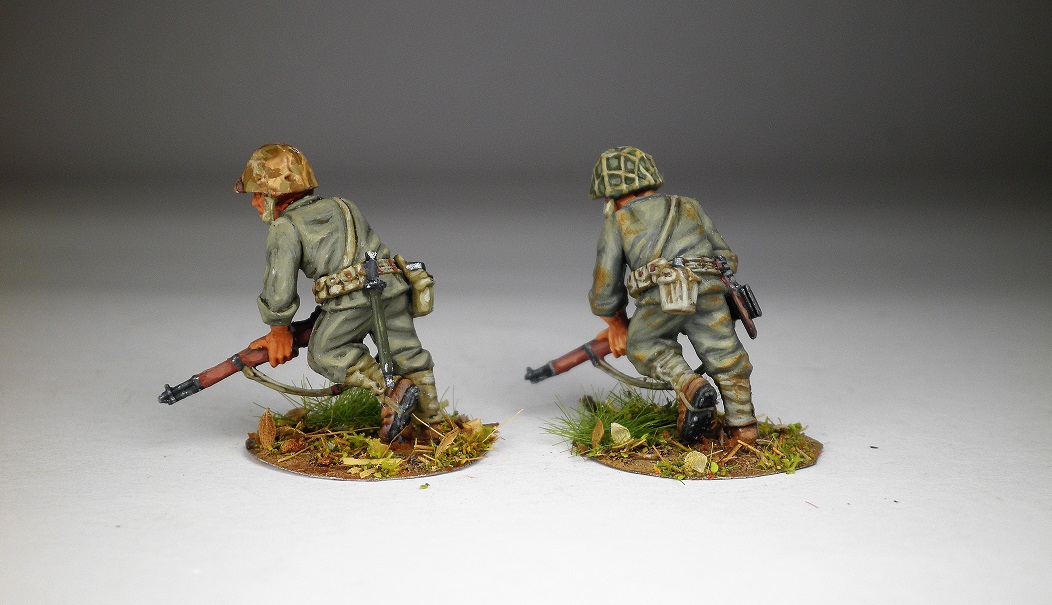
| As I wanted more figures in kneeling positions I converted a number of them from standing positions to produce different poses. |
 |
| The bases are made of thin metal sheets covered with a thin layer of Terracotta Milliput, Green stuff was used to fill in gabs between parts and also used to create gun straps. |
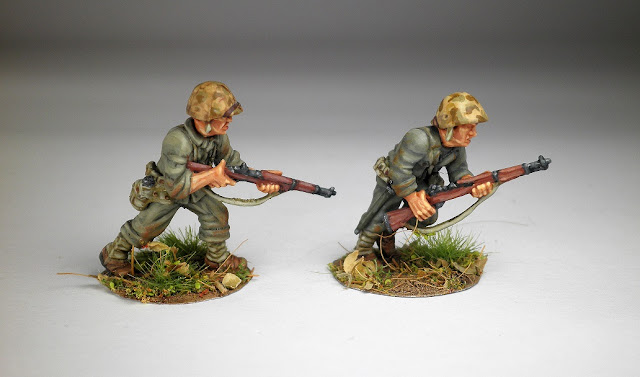 |
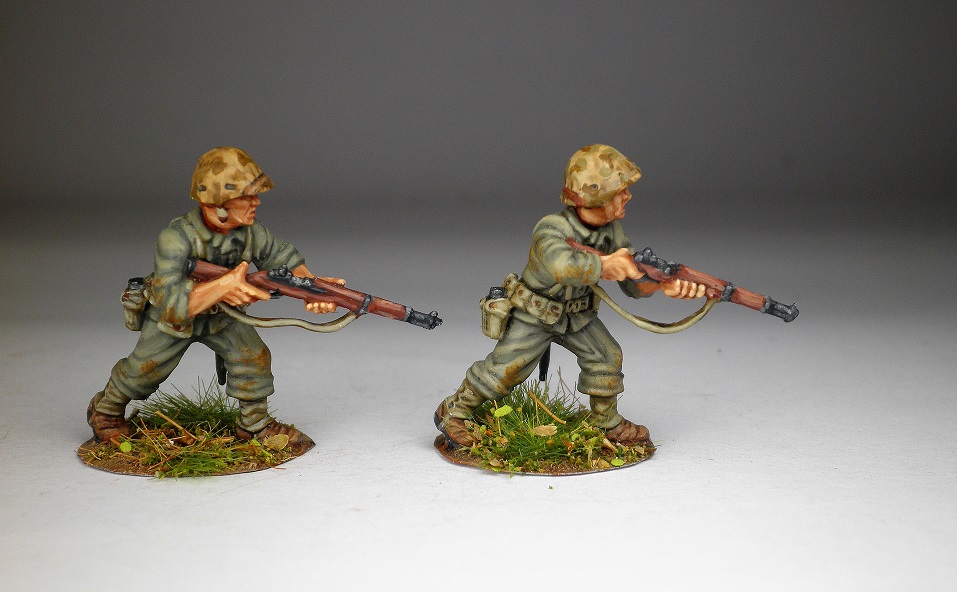
| Riflemen. |
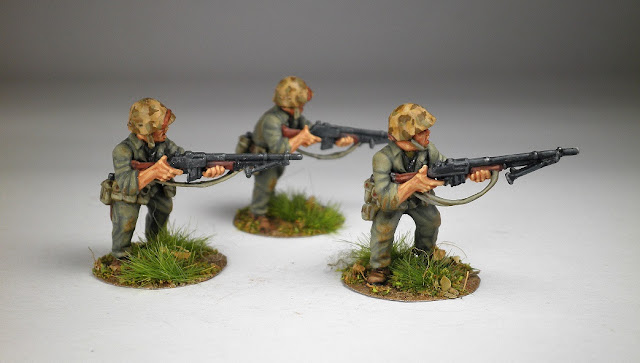 |
| Standing BAR gunners. |
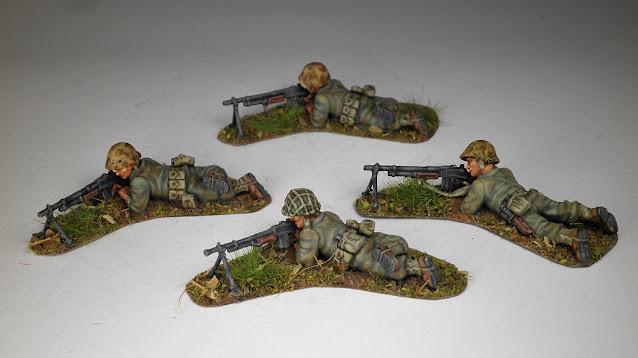 |
| Prone BAR gunners. |
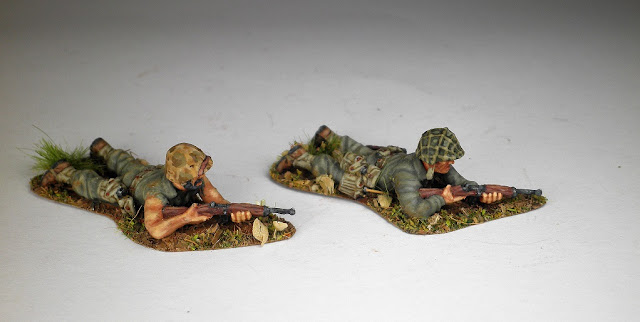 |
| Prone riflemen. |
 |
| More kneeling BAR gunners. |
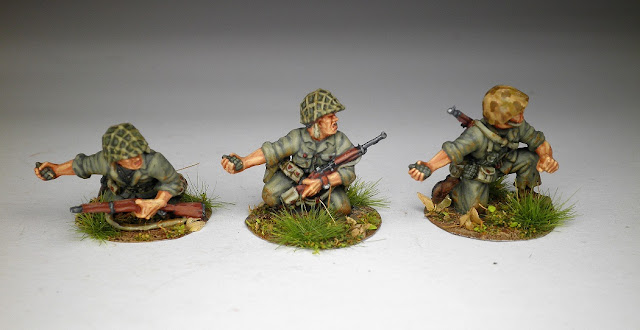 |
| Figures throwing grenades. |
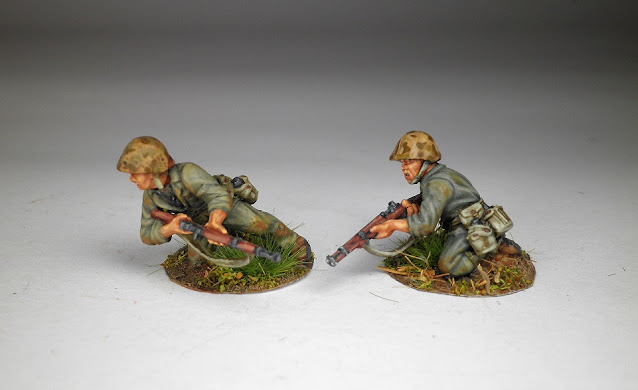 |
| More kneeling poses. |
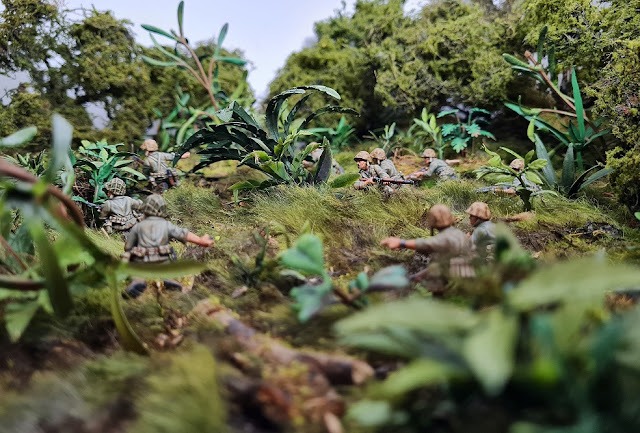 |
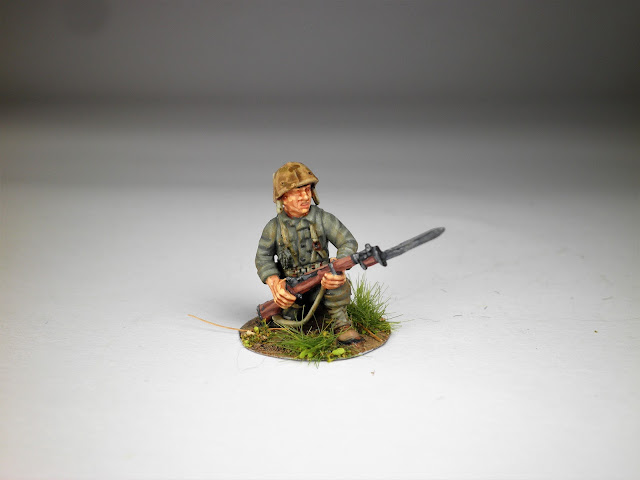
| Junior Leader directing his squad into position to assault a Japanese position. |
US MARINE PAINTING GUIDE
The painting sequence I use for the US Marines is as follows:
- Black prime
- paint the figures' base plate
- paint flesh parts with flesh base colour and apply wash to flesh parts
- paint the uniform completely
- using Black Grey or black primer to go over any areas that you may have covered while painting the uniform
- paint the base coat for the Helmet, Gaiters, boots, Bread bag, gas mask canister, water bottle etc. and then coat with the wash and move onto finishing painting each item.
- finish off the flesh parts.
- optional to use VMC Flat Earth with a small dry brush to very lightly dry brush areas that would normally rub against the ground if the figure was in a prone position, elbows, knees.
- once all the painting is finished coat the model with a gloss enamel varnish
- apply a couple of coats of Matt varnish
- apply flock to the figures' base.
Just a note this is a rough guide I used to paint my figures but you may want to alter the ratios as you see fit.
Base: Vallejo Model Colour Iraqui Sand
Wash: Games Workshop Agrax Earthshade
Highlight:: VMC Iraqi Sand
Dark Spots: VMC English Uniform
Highlight::VMC English Uniform 1:1 ratio VMC Iraqi Sand
Light spots: VMC Khaki
Highlight:::VMC Khaki 1:1 ratio VMC Iraqi Sand
Base: VMC Green Grey
Wash: GW Agrax Earthshade
1st Highlight: VMC Green Grey
2nd Highlight: VMC Green Grey 2:1 ratio VMC Iraqi Sand
3rd Highlight: VMC Green Grey 1:1ratio VMC Iraqi Sand
Optional highlight: VMC Green Grey 1:2 ratio VMC Iraqi Sand,
to give a more faded look.
Optional sweat highlight:
Very light drybrushing with VMC Earth targeting the knees, elbows, edges of uniform near the waist , can also some top portions of the uniform to give the uniform a slight brown tinge.
WEBBING, WATER BOOTLE, GAITERS Base: VMC Khaki
Wash: GW Agrax Earthshade
1st Highlight: VMC Khaki
2nd Highlight: VMC Stone Grey VMC/ German Camo Beige 1:1 ratio
3rd Highlight: VMC Stone Grey
Optional 4rd Highlight: VMC Stone Grey/ VMC IVORY 1:1 ratio
Metal buttons/studs: VMC Flat Brown
Base: VMC Flat Brown
Wash: GW Agrax Earthshade
1st Highlight: VMC Flat Brown
2nd Highlight: VMC Flat Brown 2:1 ratio VMC Iraqi Sand
3rd Highlight: VMC Flat Brown 1:1 ratio VMC Iraqi Sand
BOOTS
Base: VMC Beige Brown
Wash: GW Agrax Earthshade
1st Highlight: VMC Beige Brown
2nd Highlight: VMC Beige Brown 2:1 ratio VMC Iraqi Sand
3rd Highlight: VMC Beige Brown 1:1 ratio VMC Iraqi Sand
PROTECTIVE COATING
Apply:
- Generous coat of Clear coat of Tamiya X-22
- Couple of coats of Vallejo Polyurethane Matt Varnish
Cheers John


.jpg)


.jpg)


.jpg)


Amazing work John - your helmet camo is sublime mate!
ReplyDeleteFrank
Thanks Frank
DeleteAwesome painting mate! Lovely detail plus you give them a bit of jungle grime too. Very impressive guide too.
ReplyDeleteCheers
Matt
Thank you Matt.
DeleteI like your figures. But I always feel a little cheated by the Warlord Plastic Marine box because I really want everyone in the camo helmet. It just looks so cool. Not sure about the soft caps in certain scenarios (like you I would prefer not to use) and the netted and plain helmet well... we all have loads of them in our spares box. Still it reminds of Vic Morrow in the tv series - Combat. I like the conversions (nice crouching poses etc.) and the added strap detailing - LETS HIT A BEACH !! Nice job.
ReplyDeleteThanks Glasgow Warhog , yes agree in regards to the helmets but what can you do, love the series Combat as a kid.
Deletecheers John
Great stuff - the platoon looks fantastic.
ReplyDeleteThank you Kym
Delete